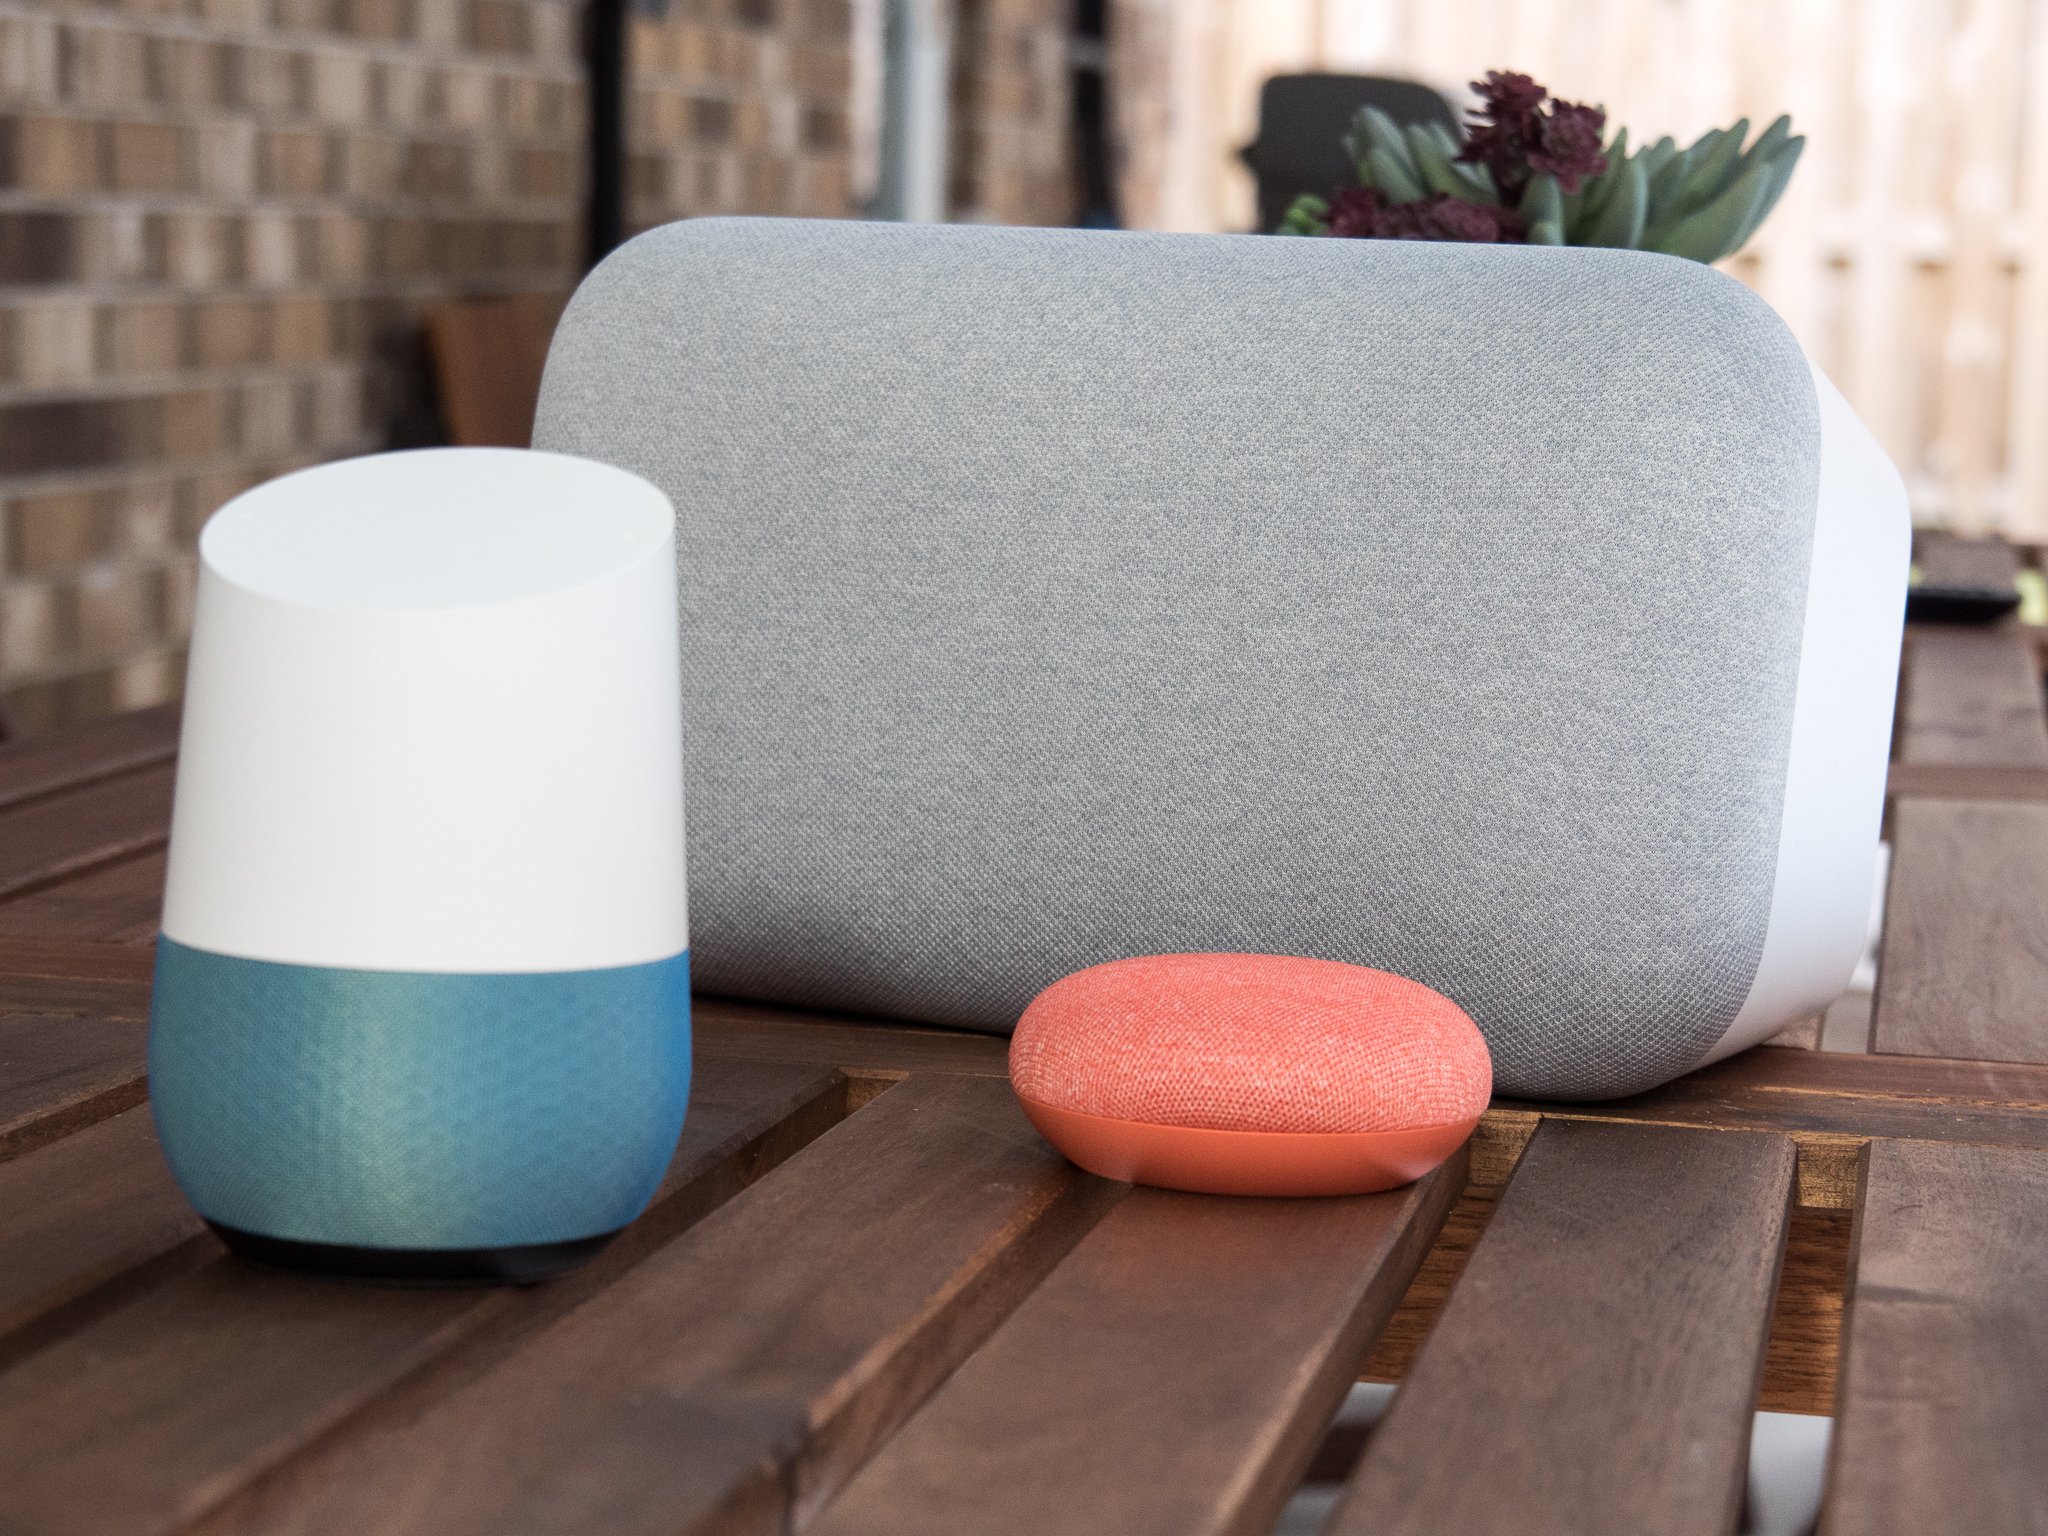
Whether Google or a third-party manufacturer makes your Google Assistant speaker, the setup is the same.
Once upon a time, the only way to get Google Assistant into your home was with a Google Home, but now there are hundreds of speakers — and smart displays — with Google Assistant built-in! From the beefy sound of the Nest Audio speaker to the perfect little alarm clock Lenovo Smart Clock Essential, setting up any Google Assistant speaker uses the same, simple app and the same, simple process.
How to set up a Nest Audio, Nest Mini, or any Google Assistant speaker or display
- Plug the power cord into the base of your speaker.
- Plug the power adapter into an outlet. The unit will automatically boot up, introducing itself and directing you to the Google Home app to finish setup.
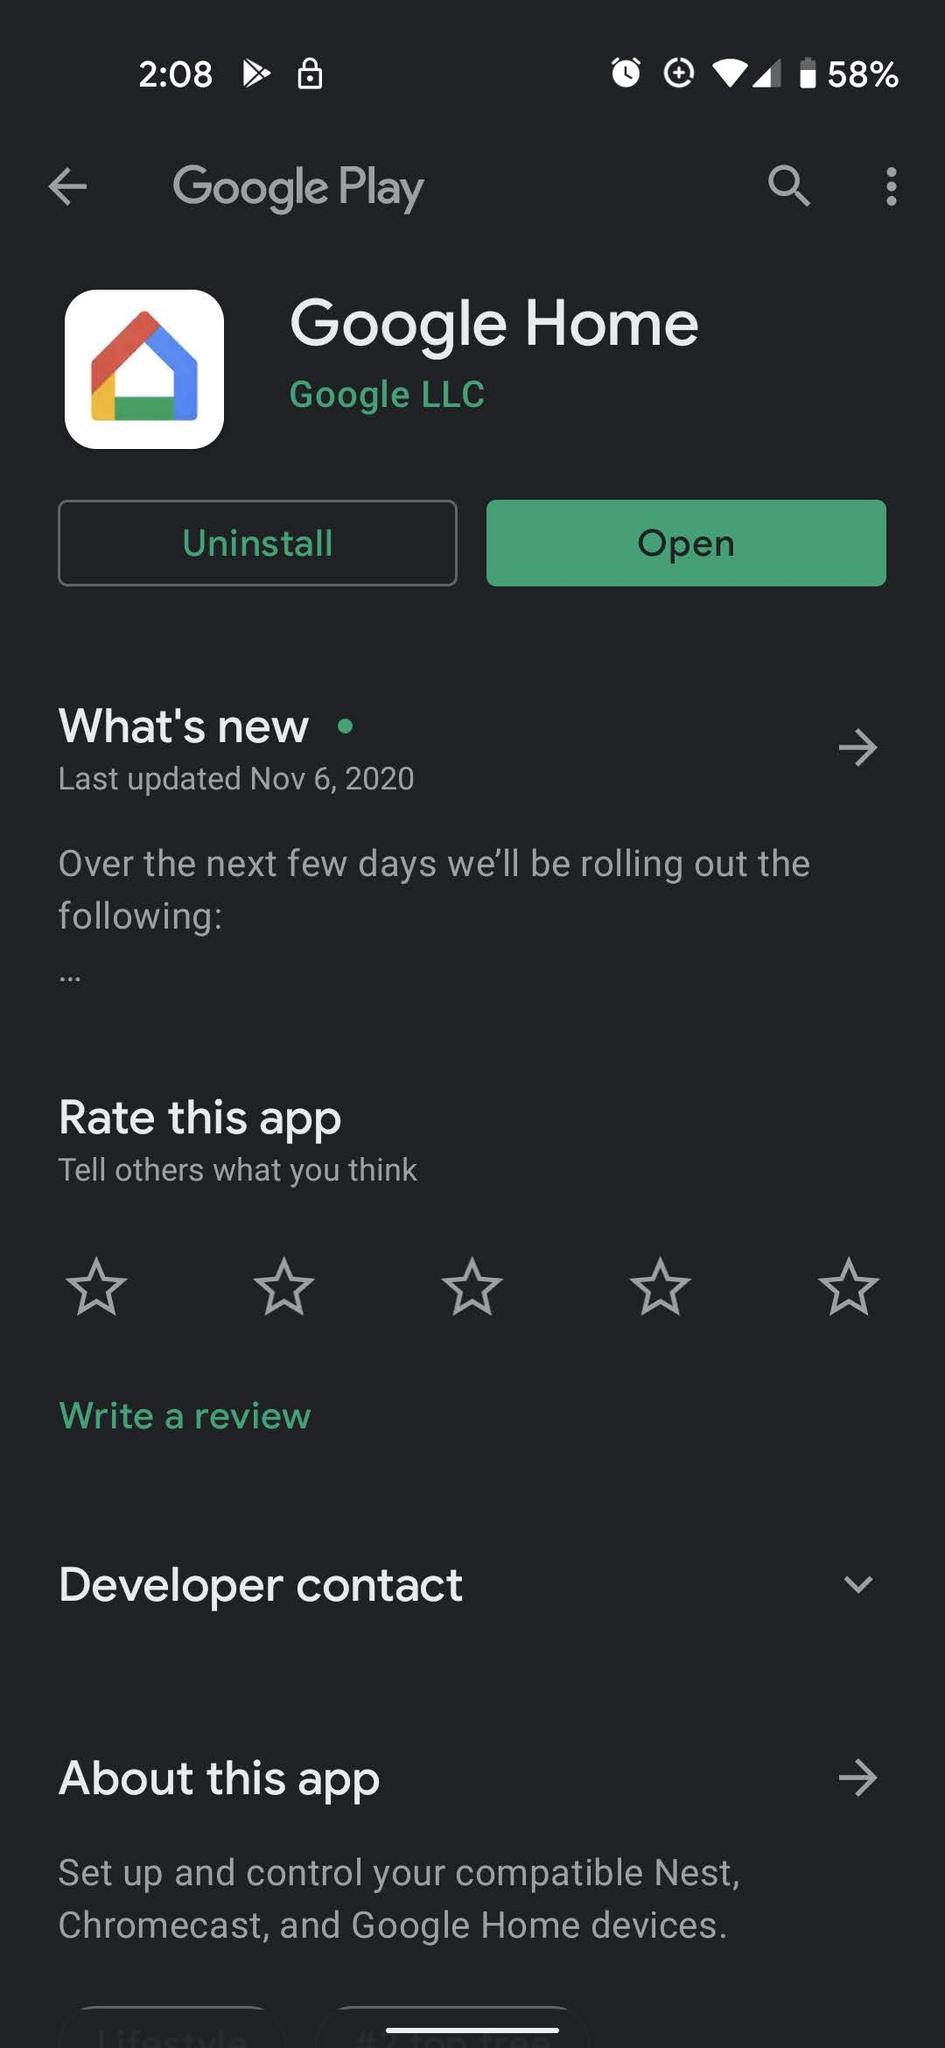
- Open the Google Home app on your phone.
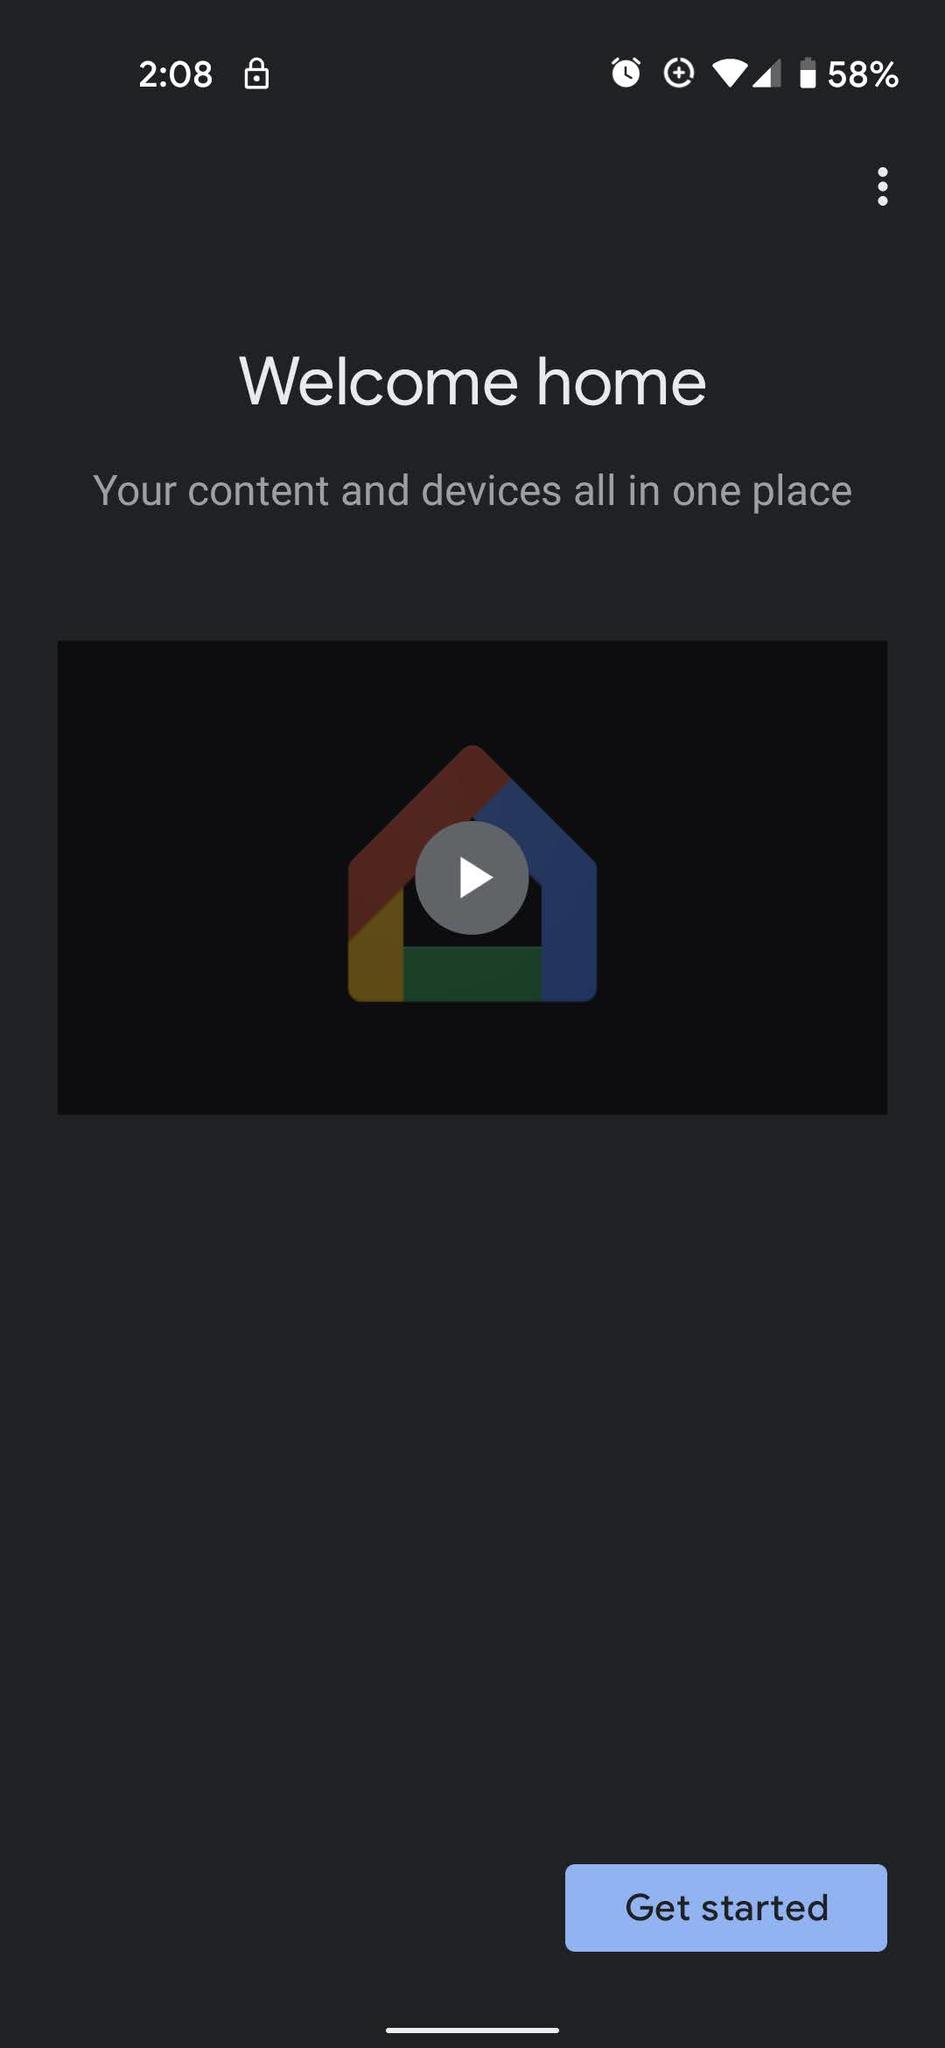
- Tap Get started.
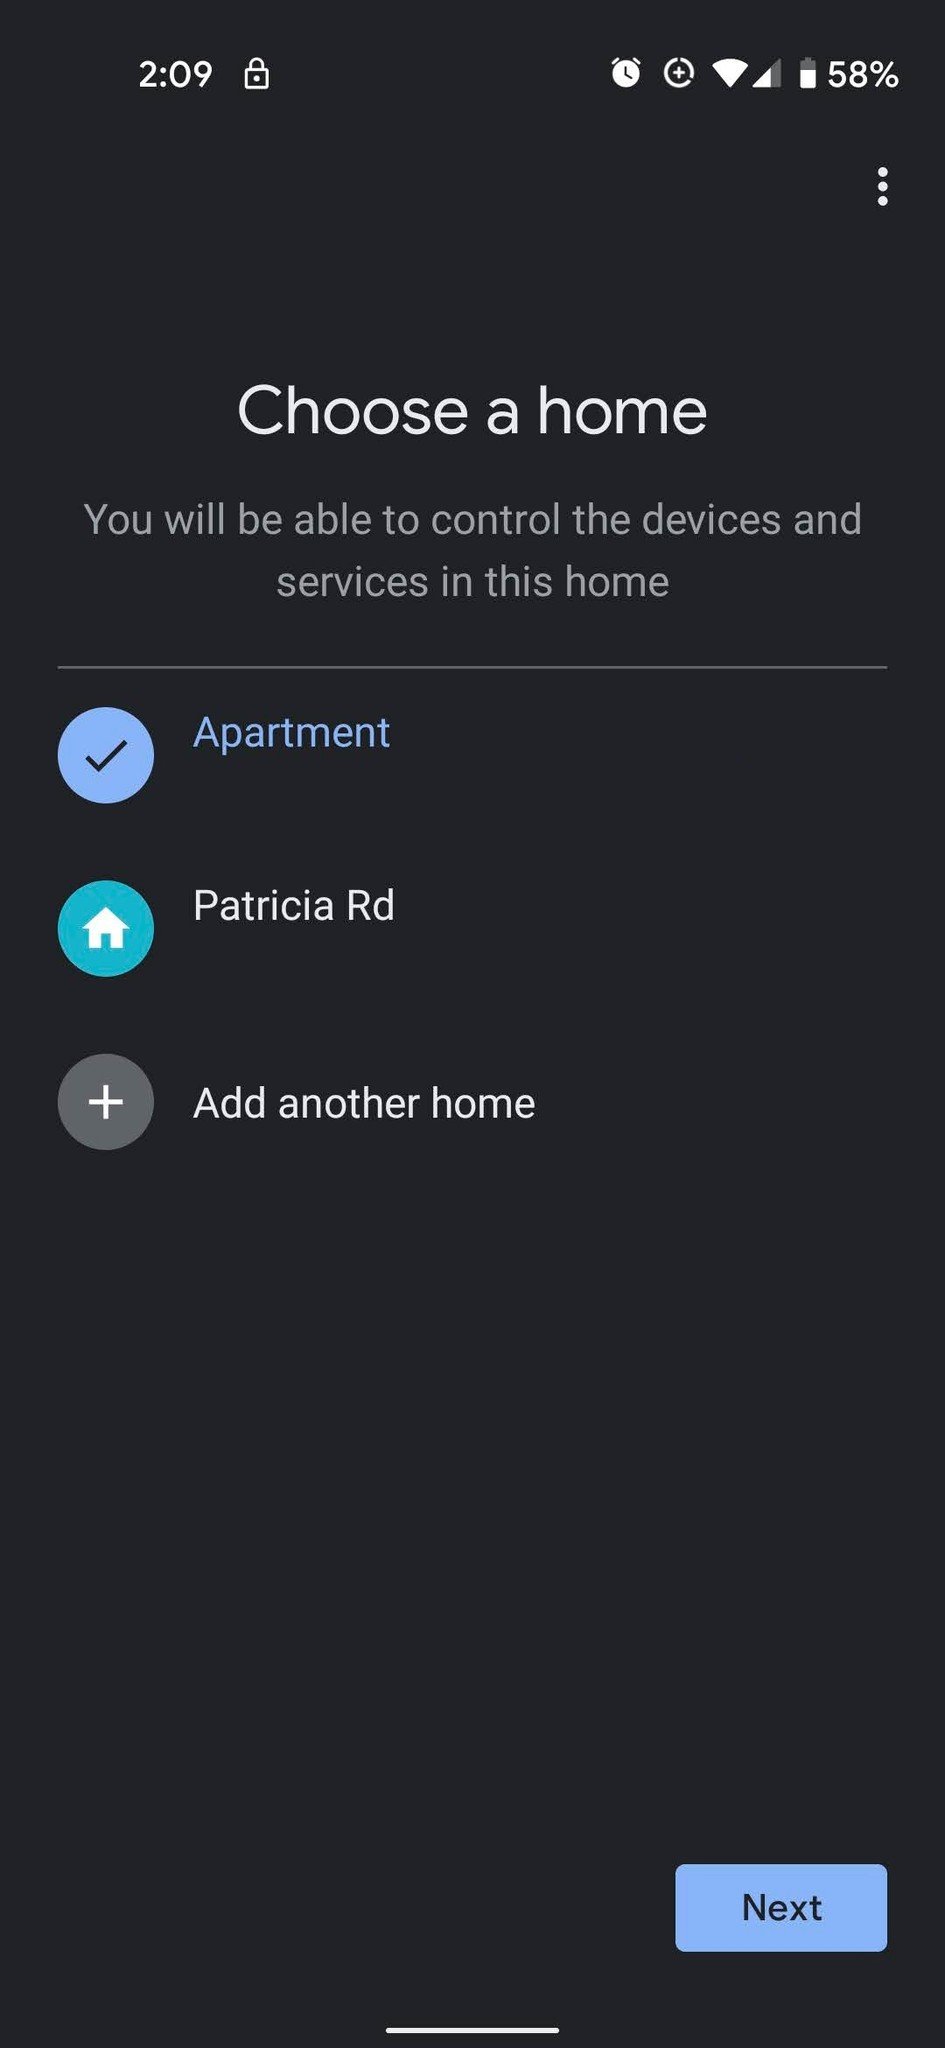
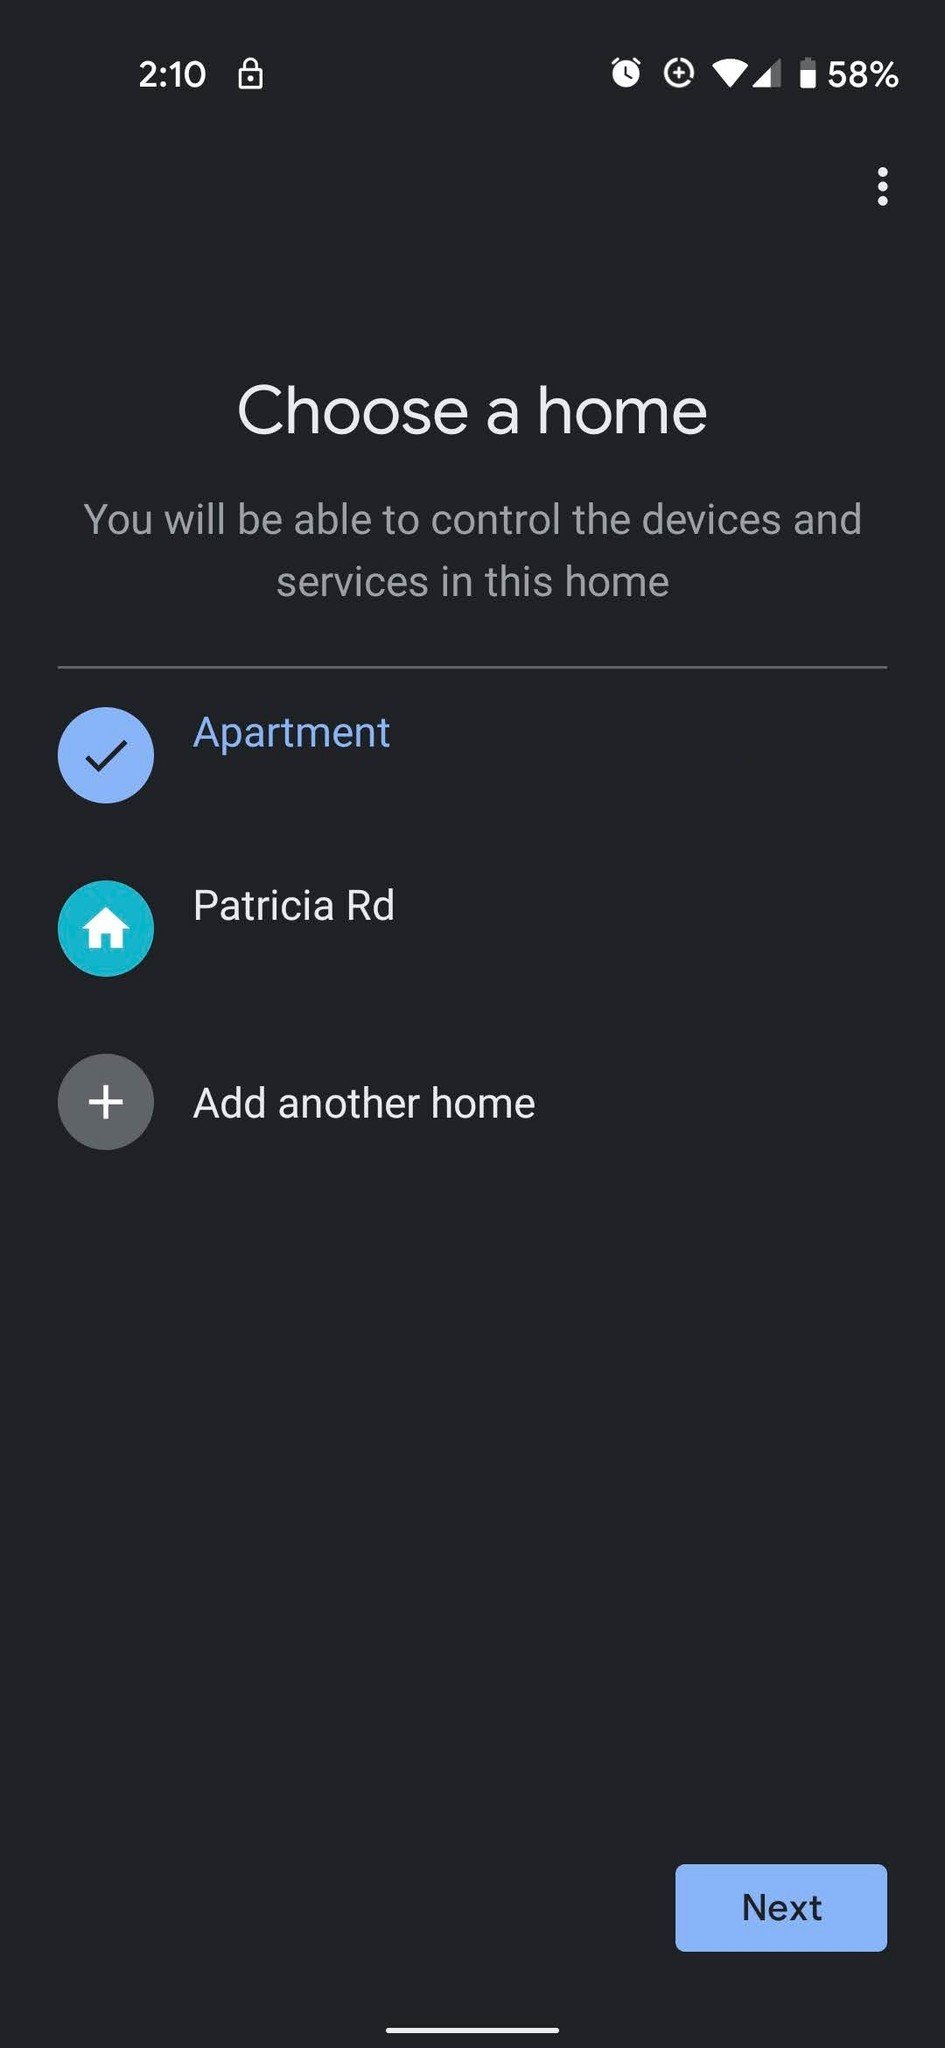
- Select the home setup you want to control. If you're using Google Home for the first time, name your home.
-
Tap Next.
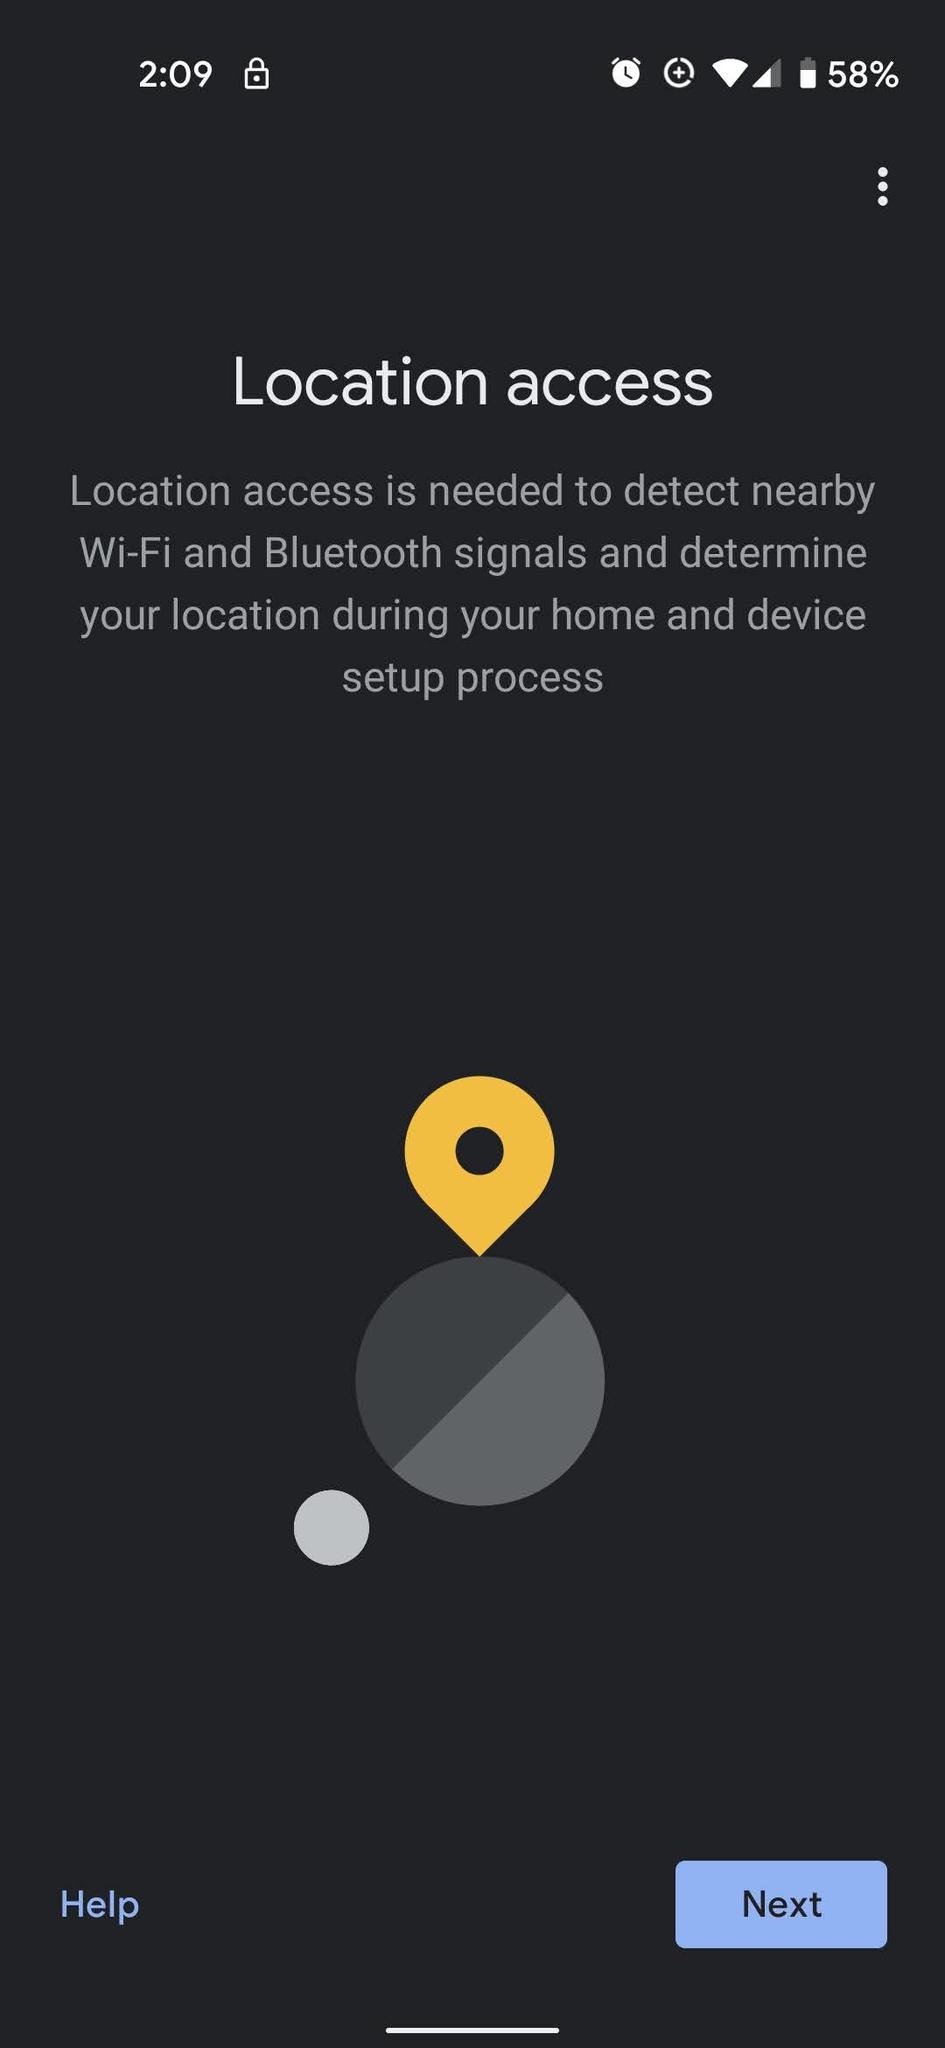
- Google needs location access, so tap Next.
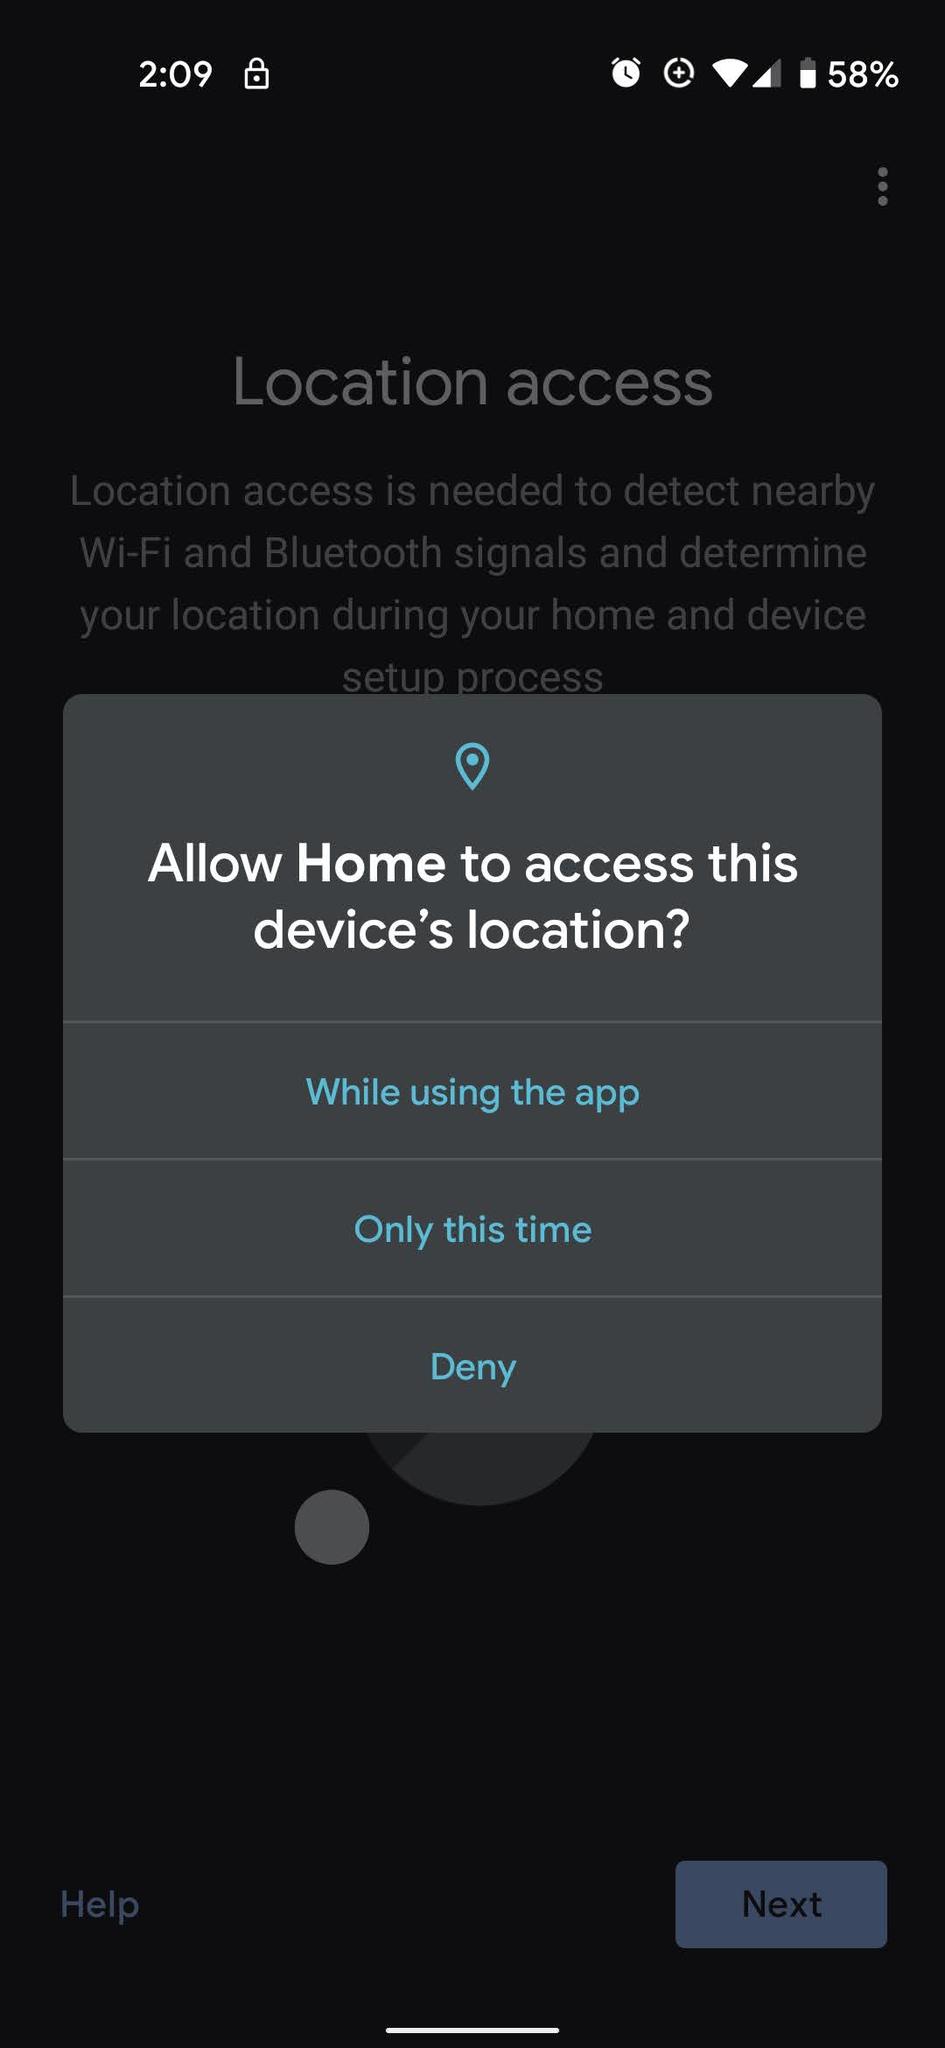
- Tap While using the app.
-
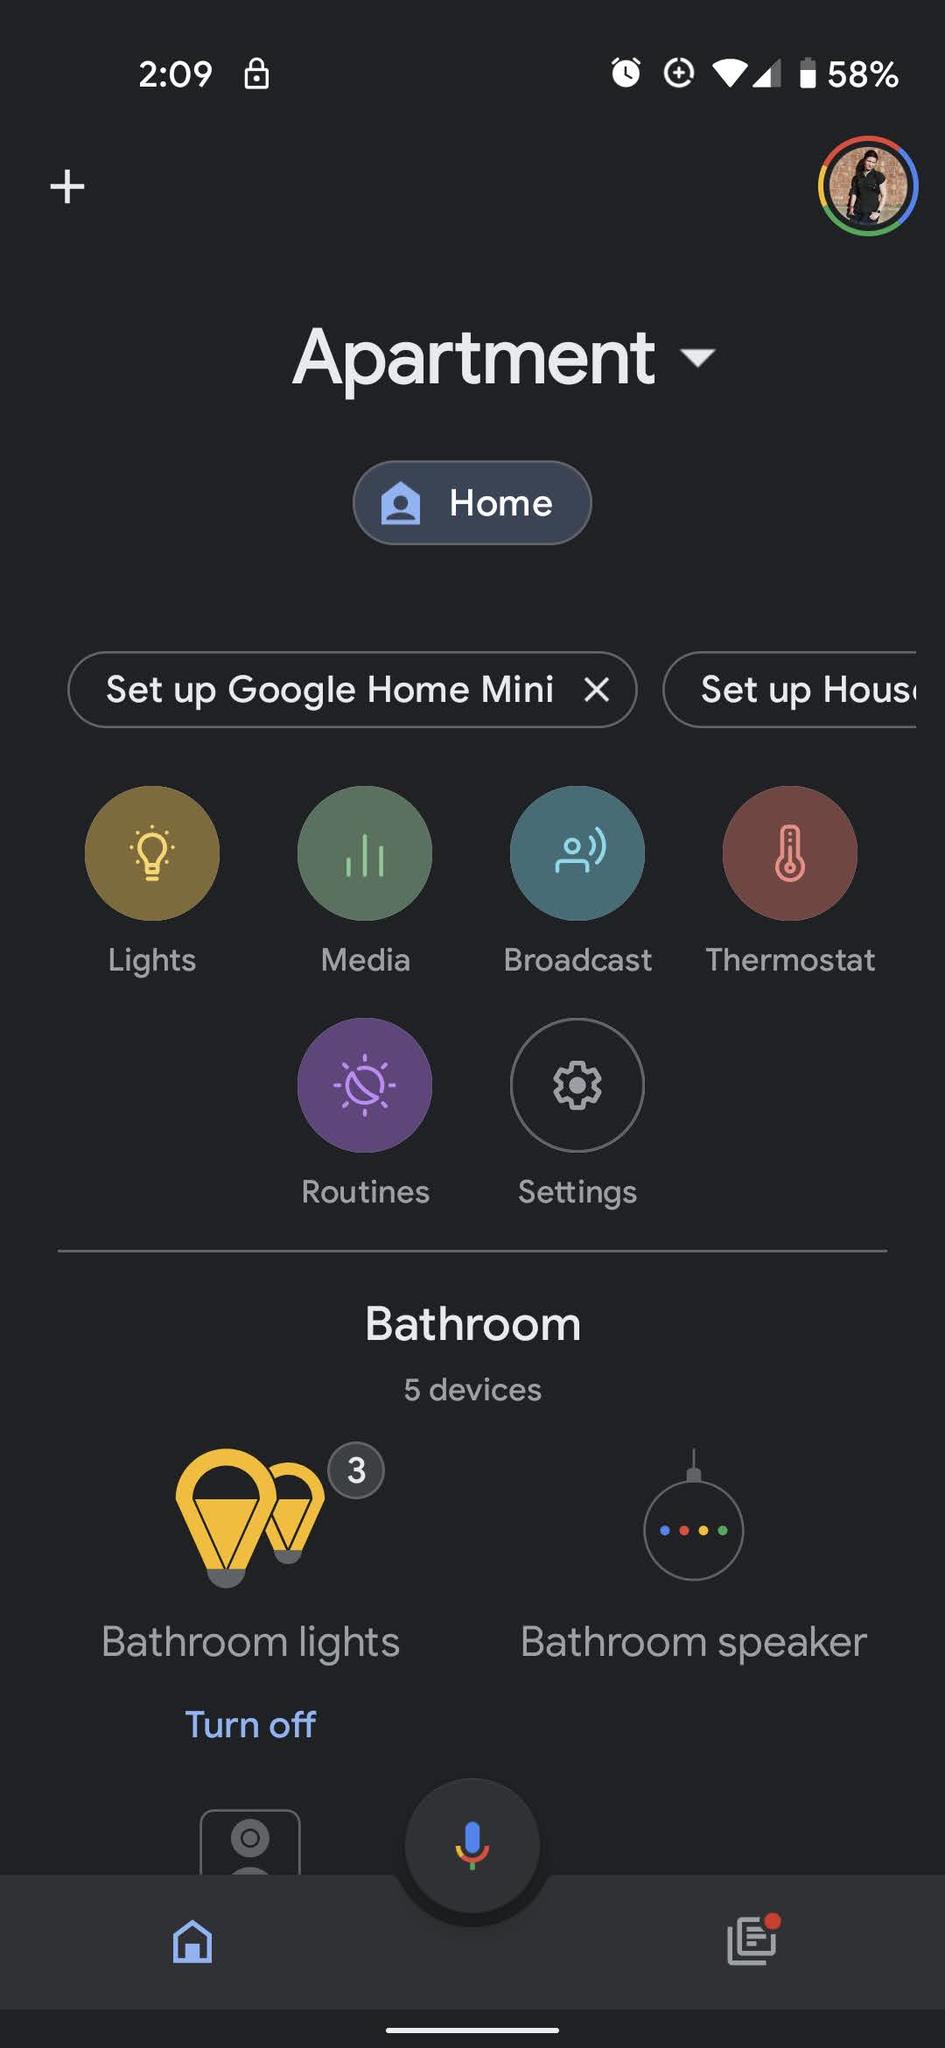
Tap the Set up (speaker name) bubble above your Home shortcuts.
- Tap the home you want to add your speaker to.
- Tap Next.
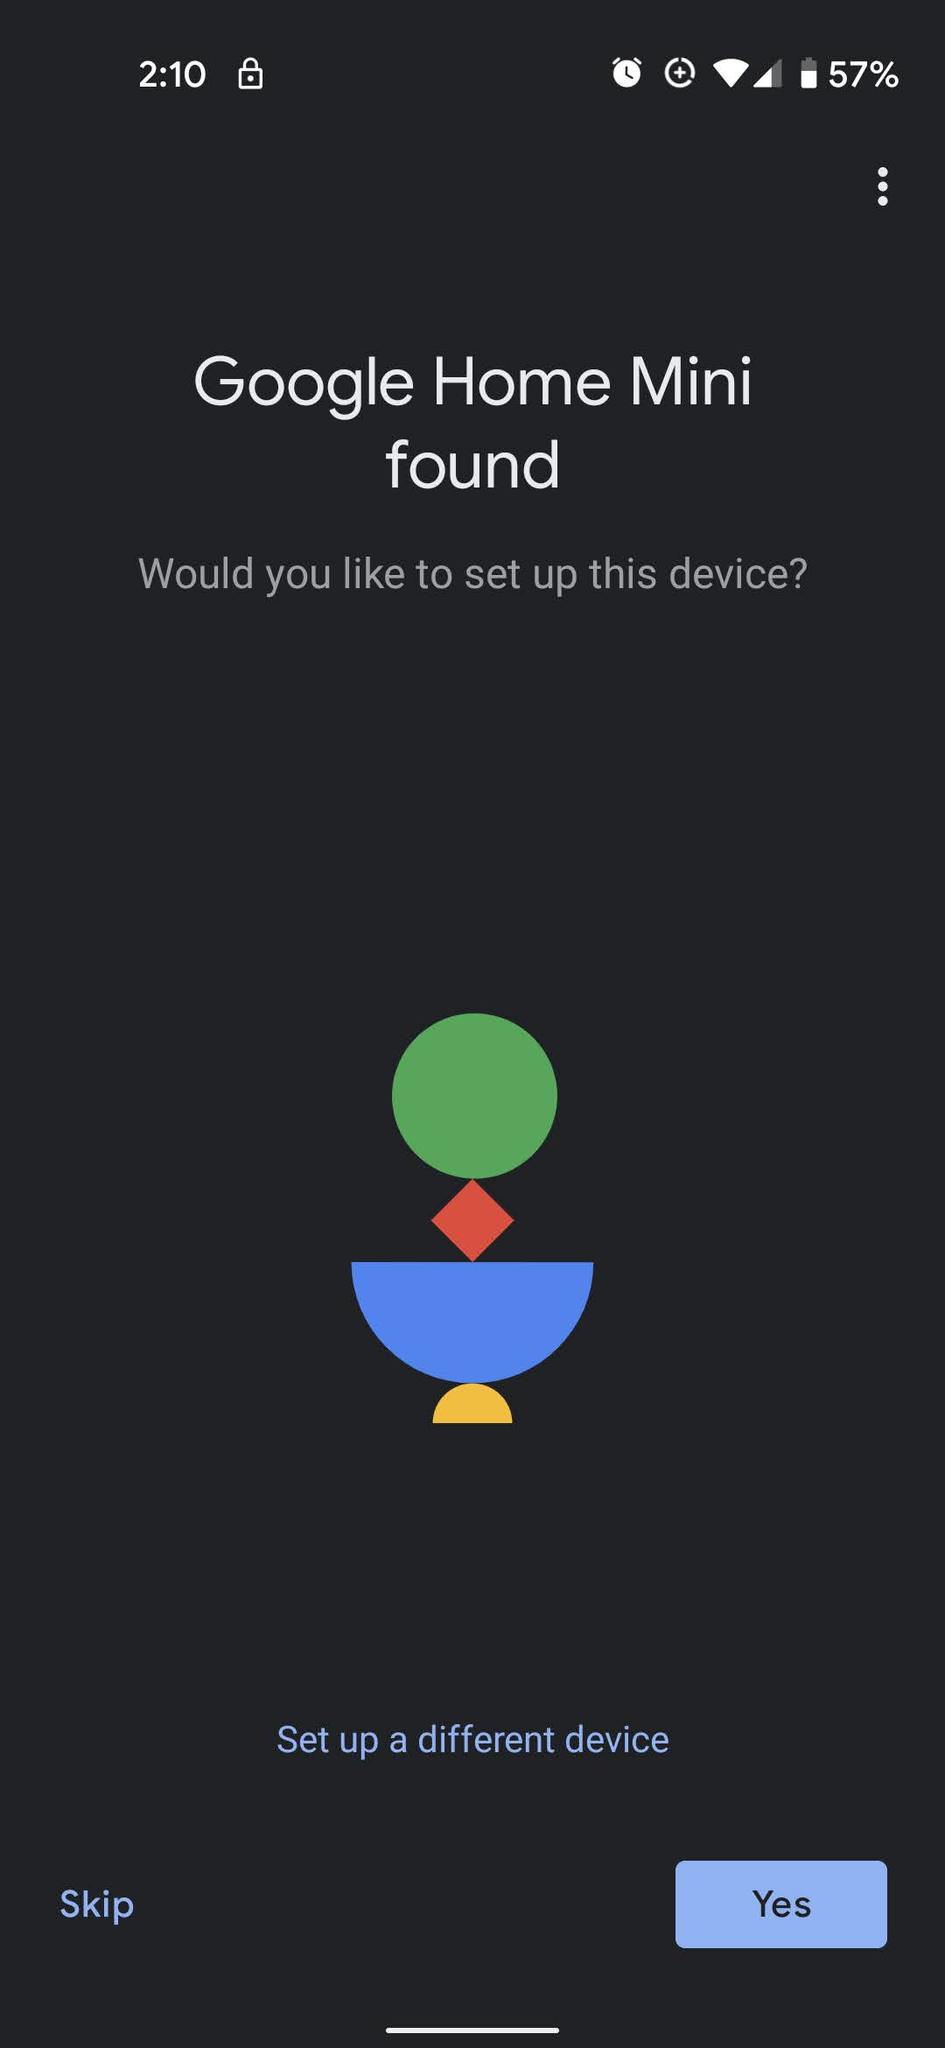
- Tap Yes to set up your new speaker. (It might take Google a few minutes to find your device.)
-
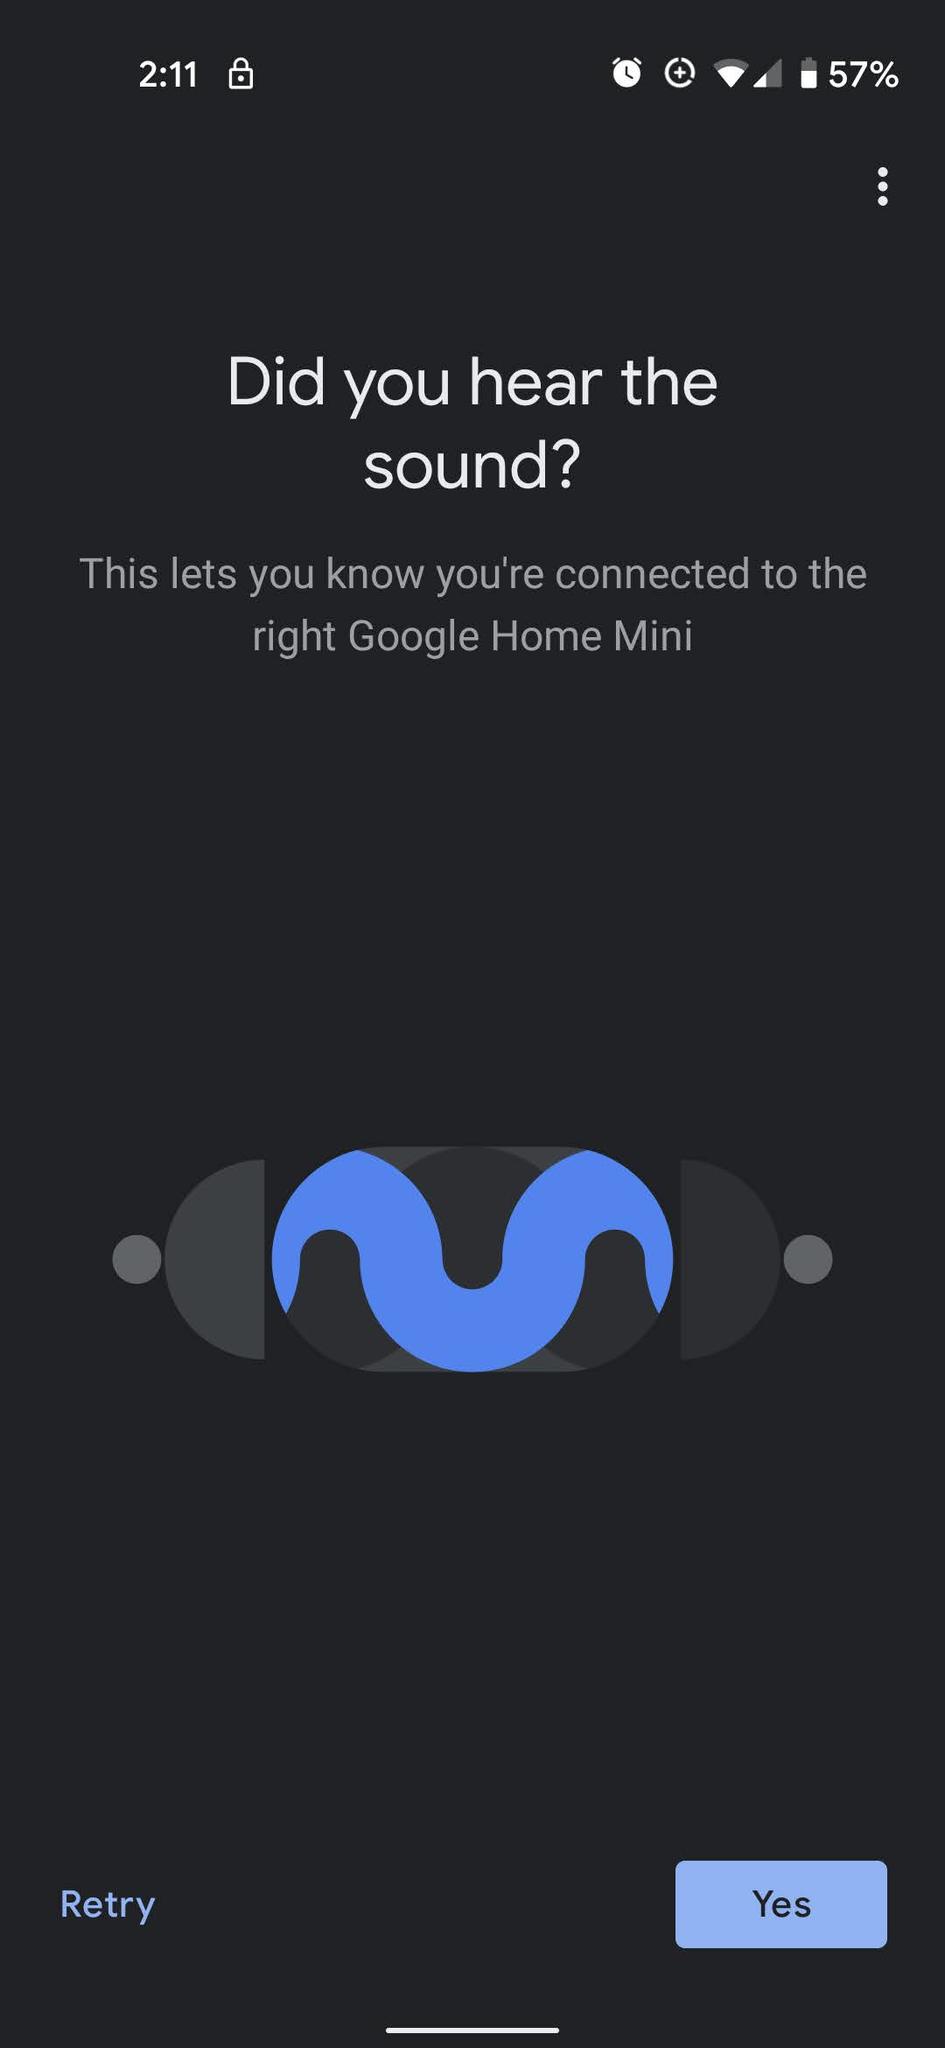
Tap Yes once you hear the sound from your speaker.
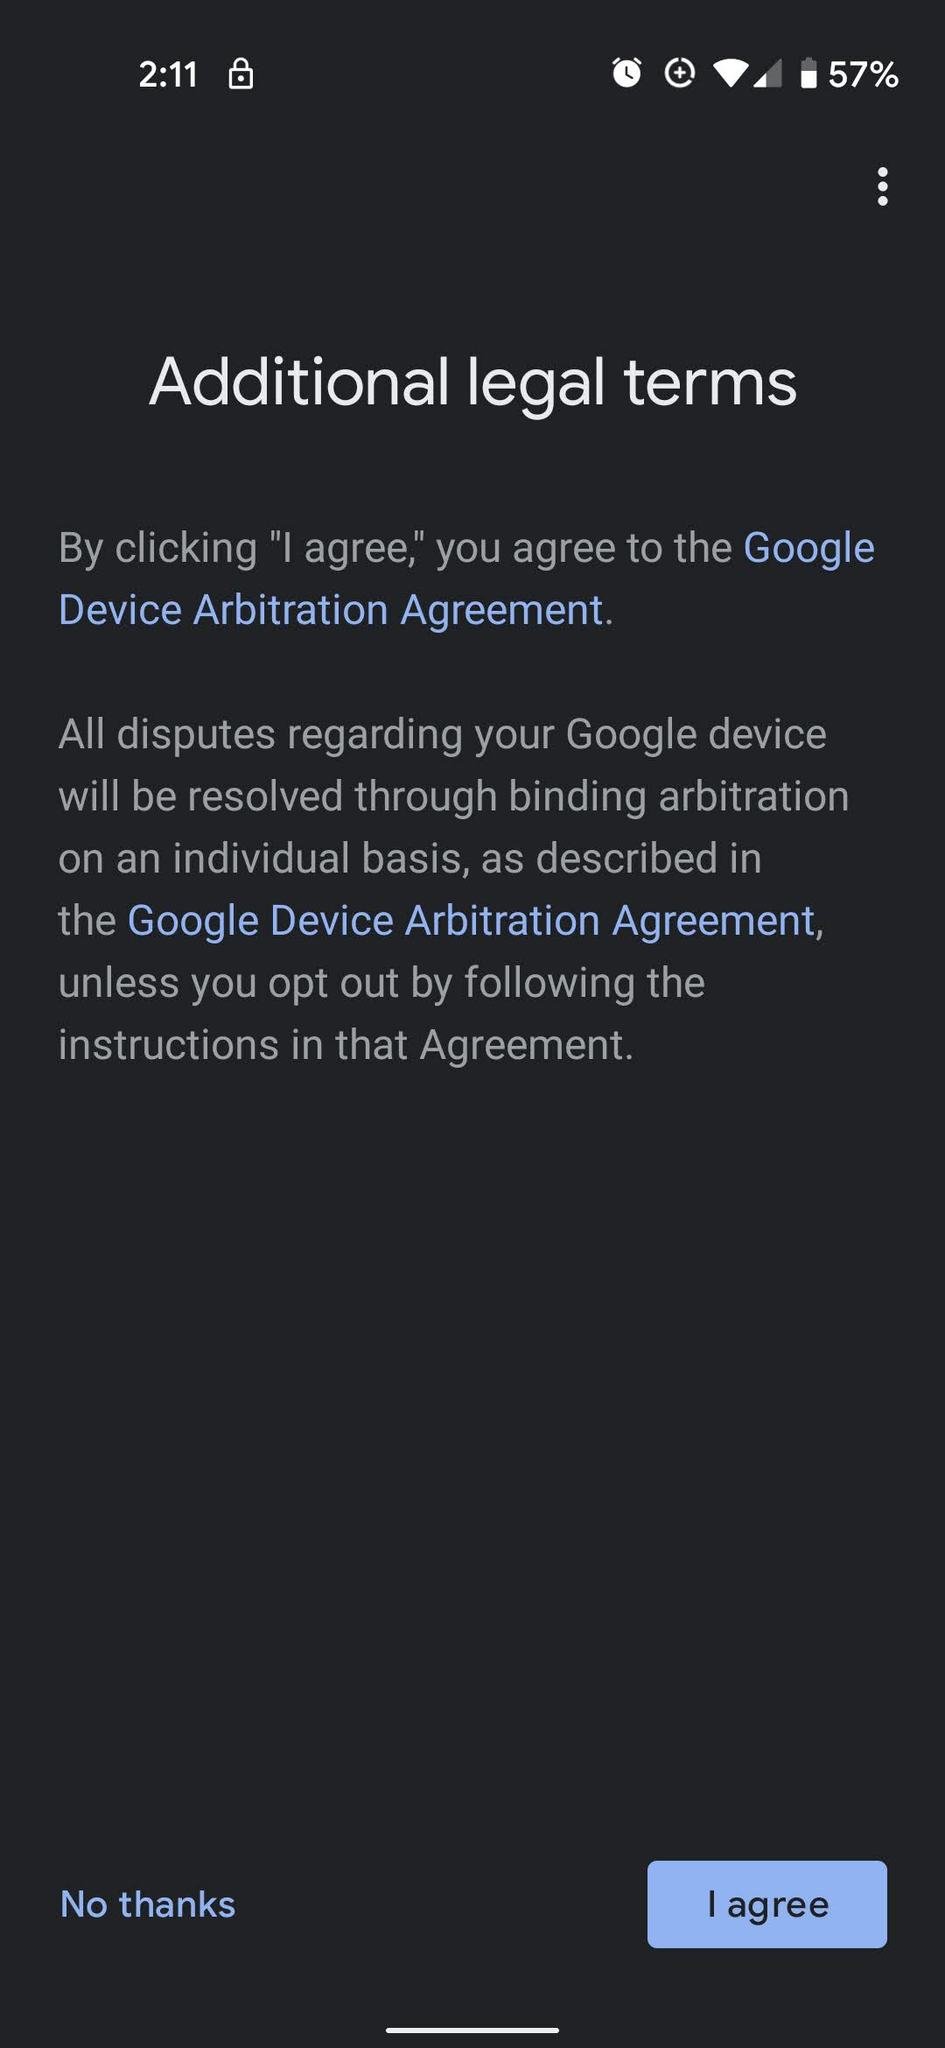
- Tap I agree to accept Google legal terms.
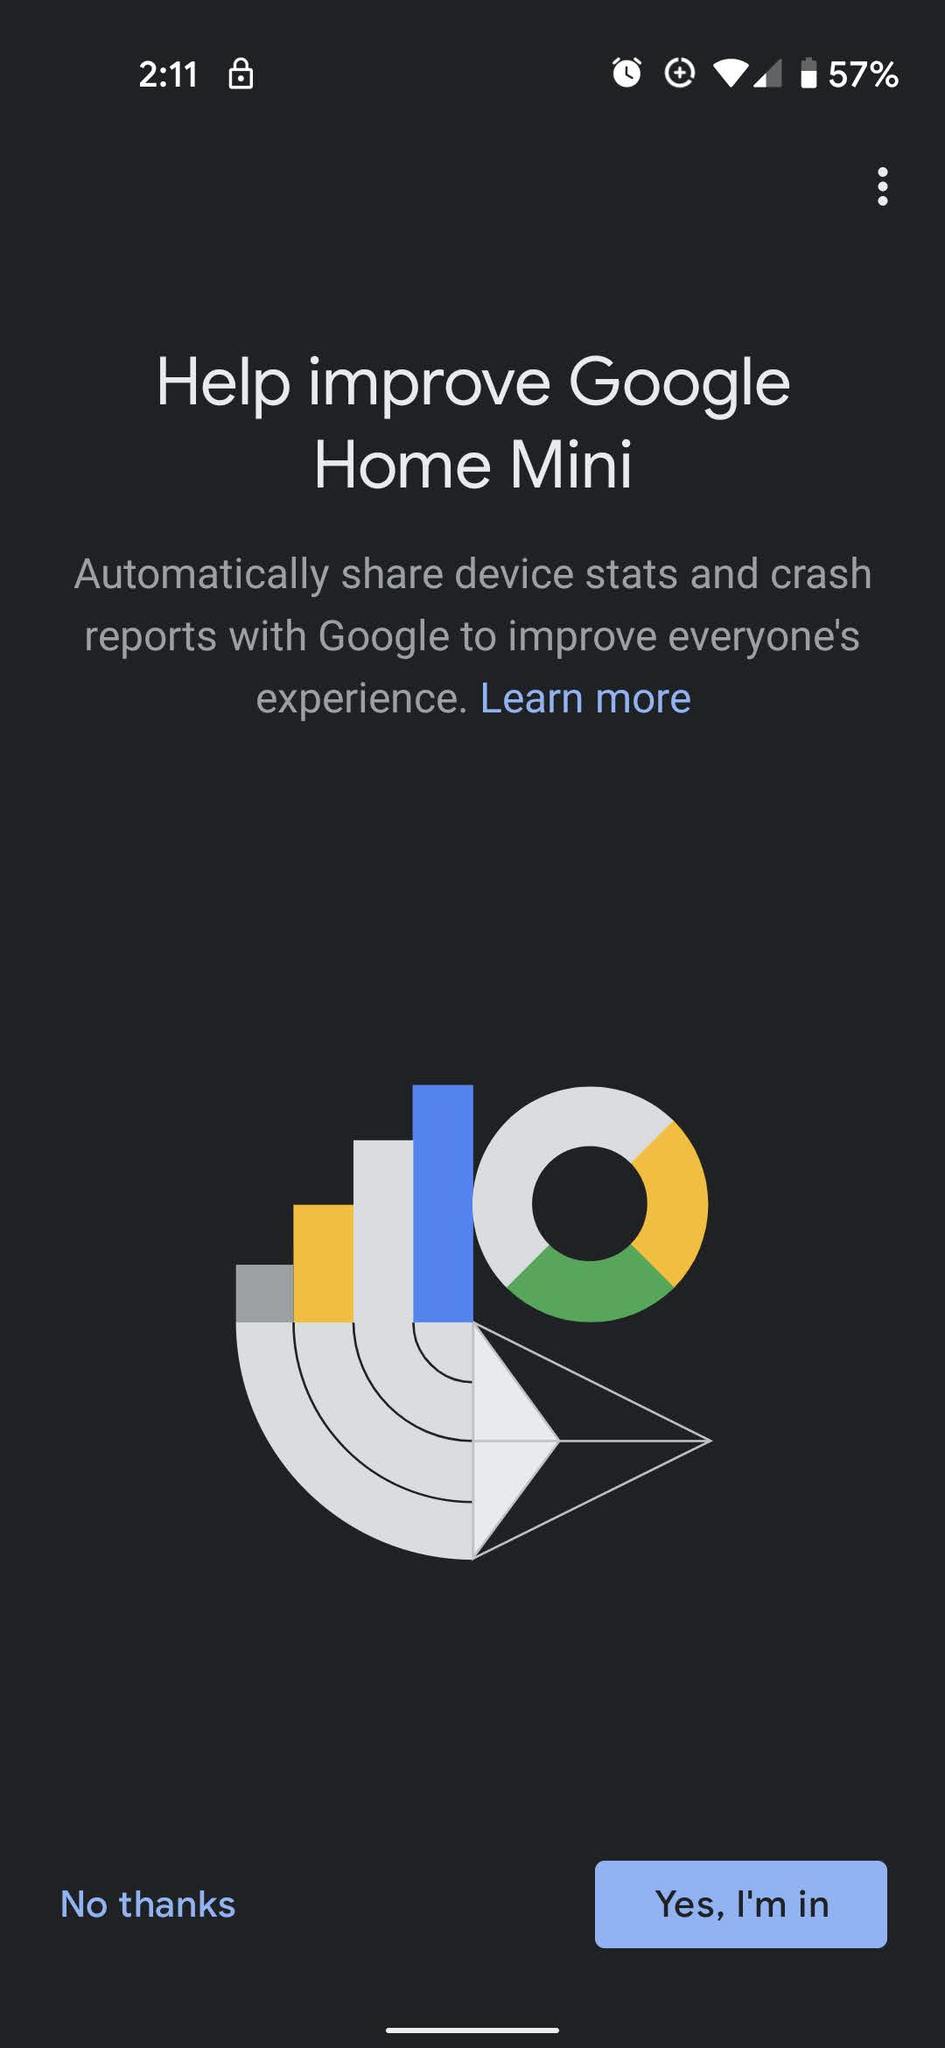
- Tap Yes, I'm in to share device stats and crash reports with Google to improve Assistant.
- Tap No Thanks if you don't want to help make your device better down the road.
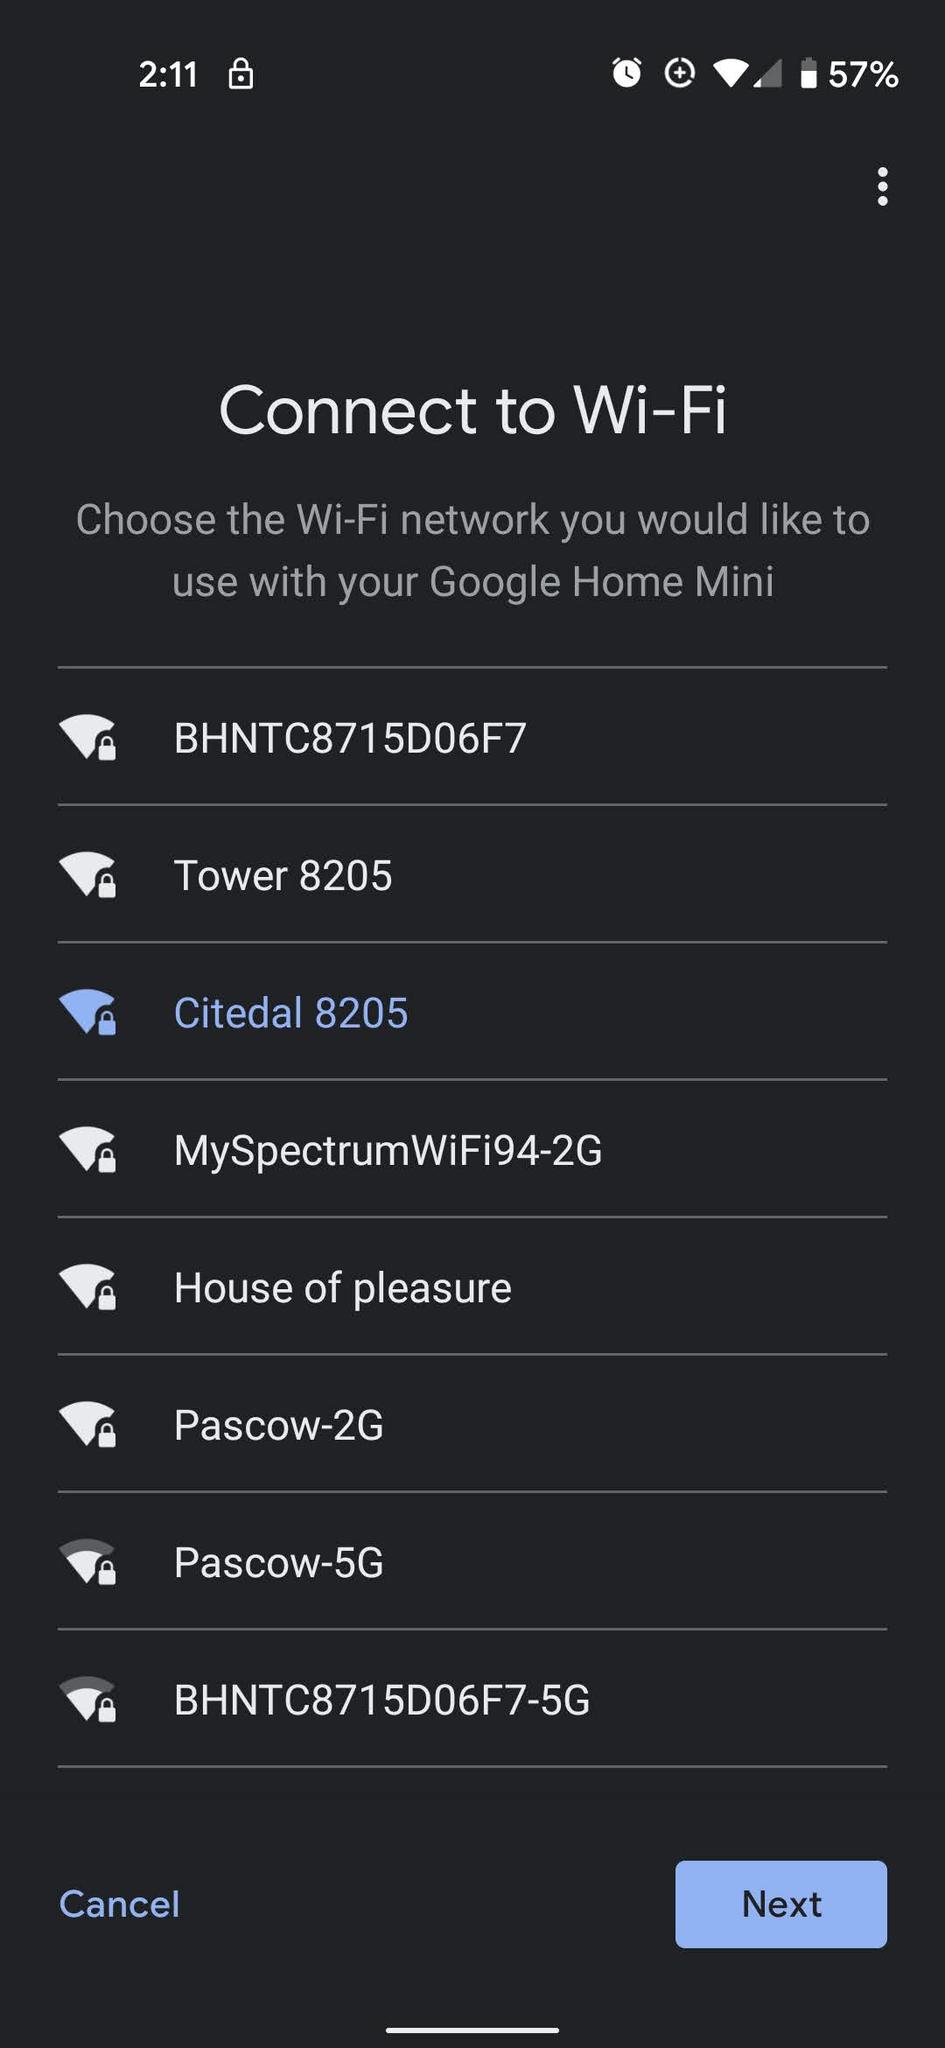
- Tap your Wi-Fi network to connect your speaker to.
- If your network doesn't show up, your network might be 5Ghz while your new smart speaker only uses 2.4Ghz Wi-Fi. If this happens, you'll need to check your router to turn on a permanent 2.4Ghz network alongside your 5Ghz network.
-
Tap Next.
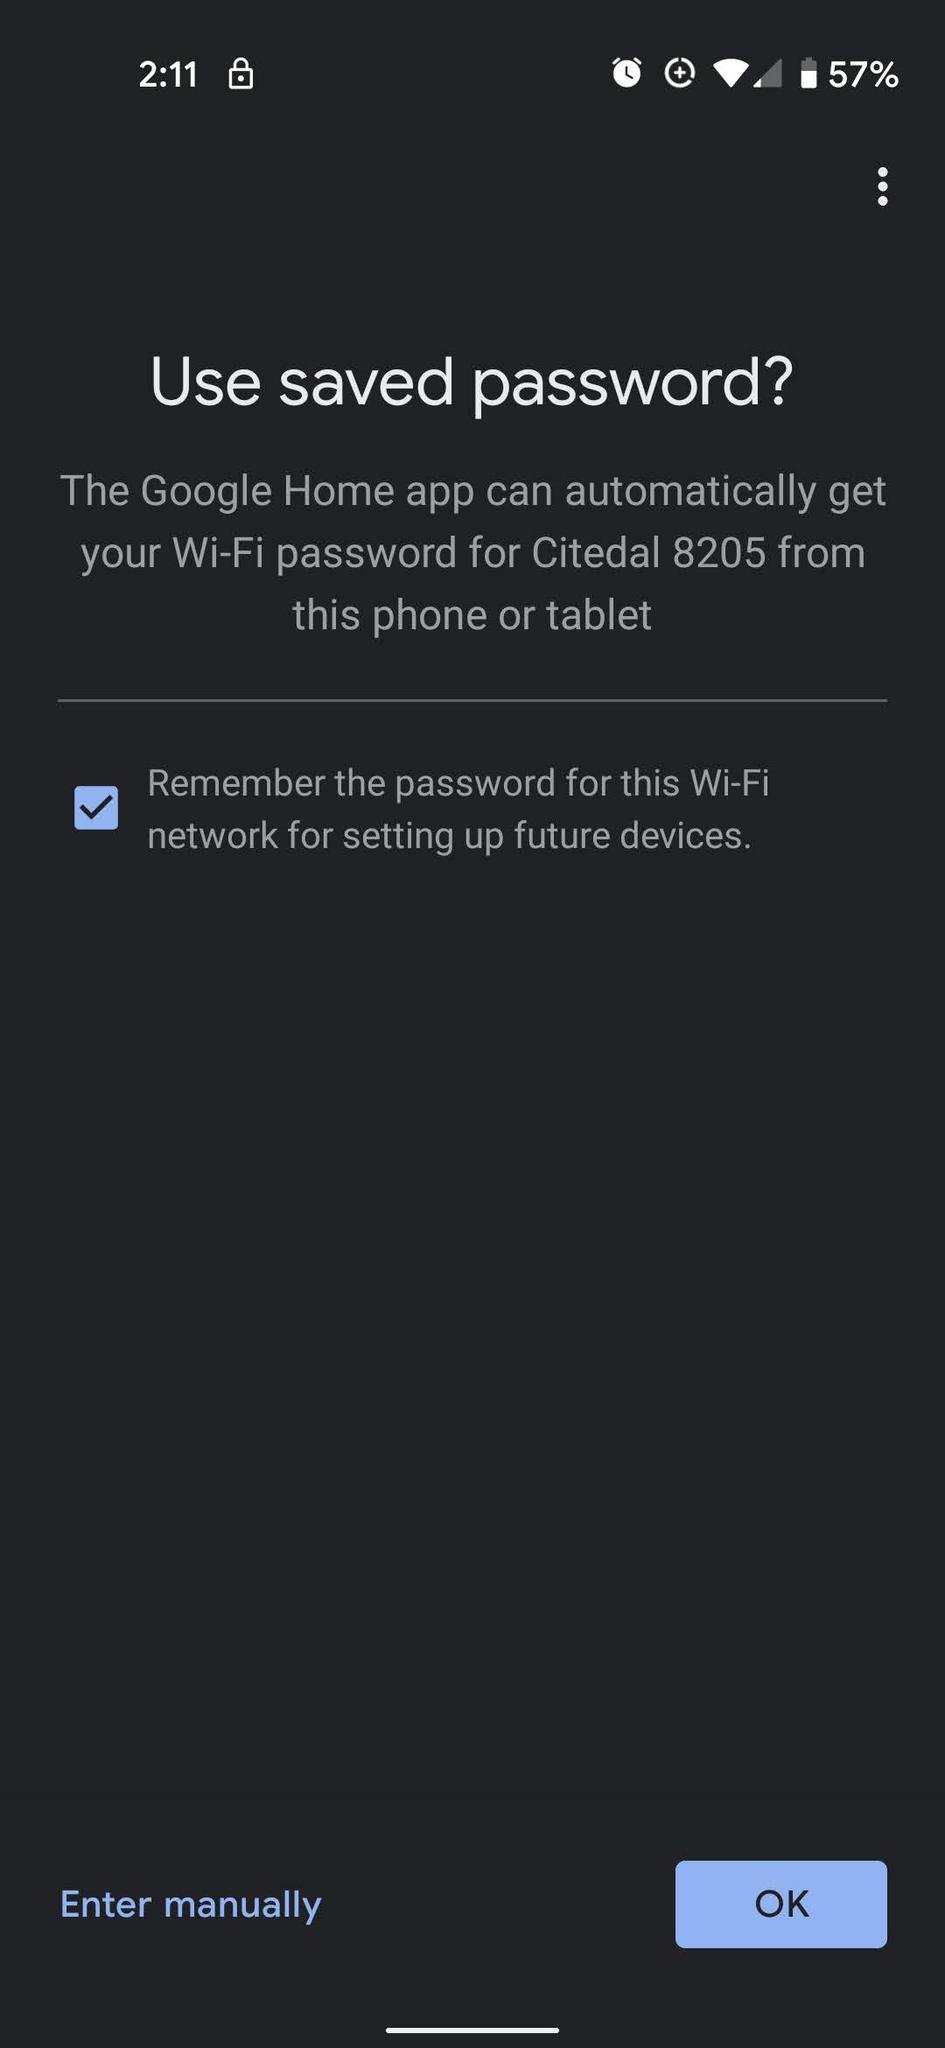
- Enter your password — or if you've already given Google Home your Wi-Fi password, tap OK to use that.
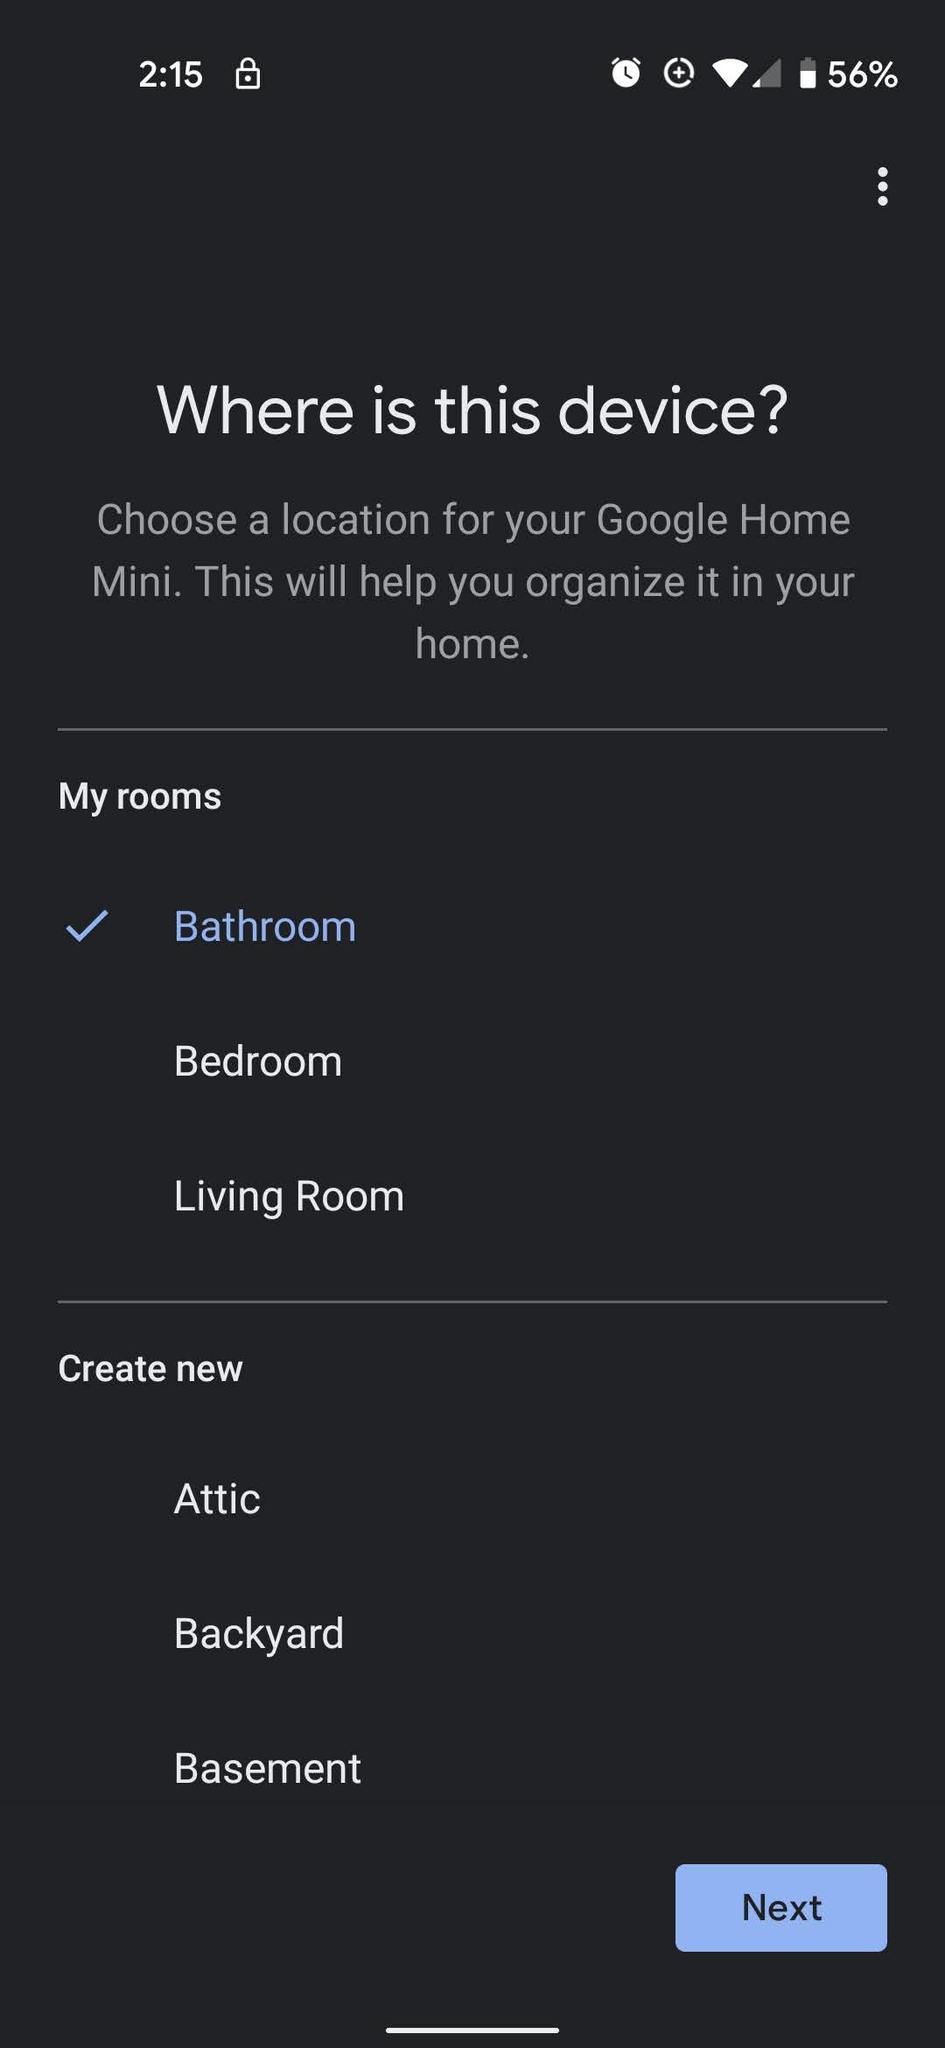
- Tap the room your device will live in.
- Tap Next.
-
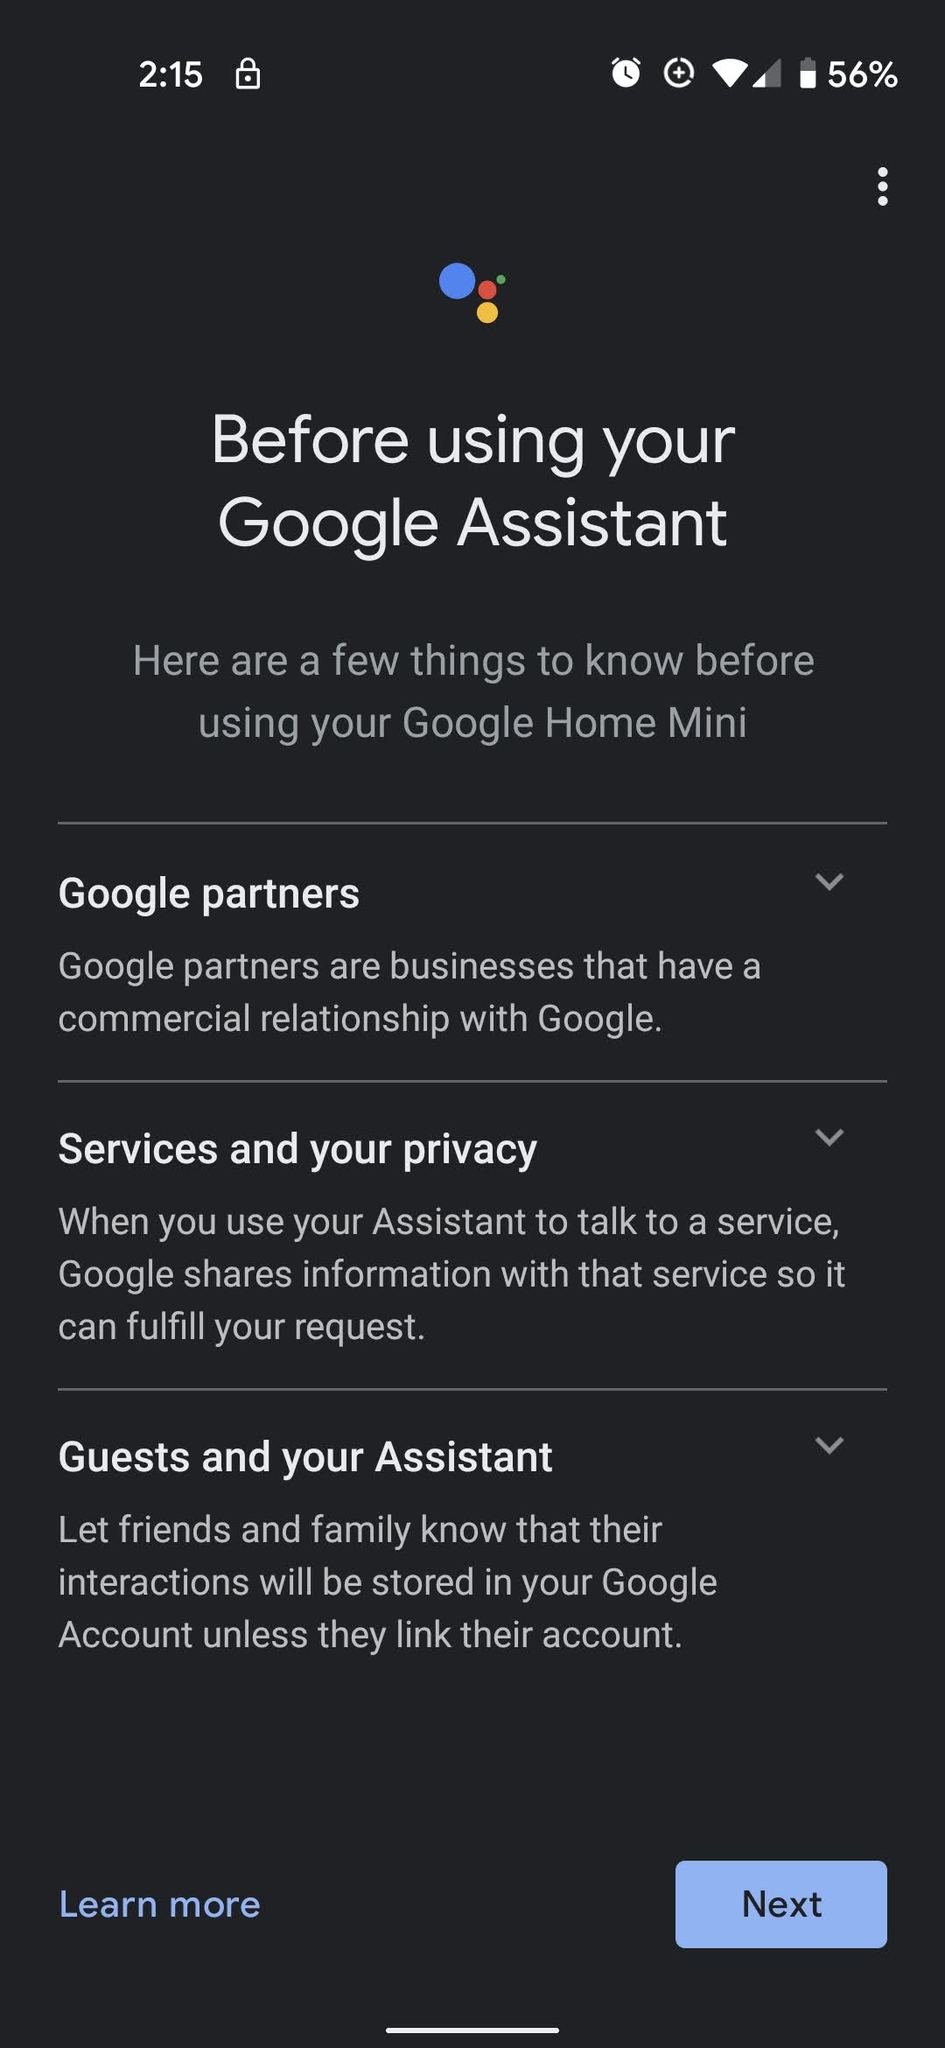
Tap Next to get past Google Assistant's various privacy and legal policies.
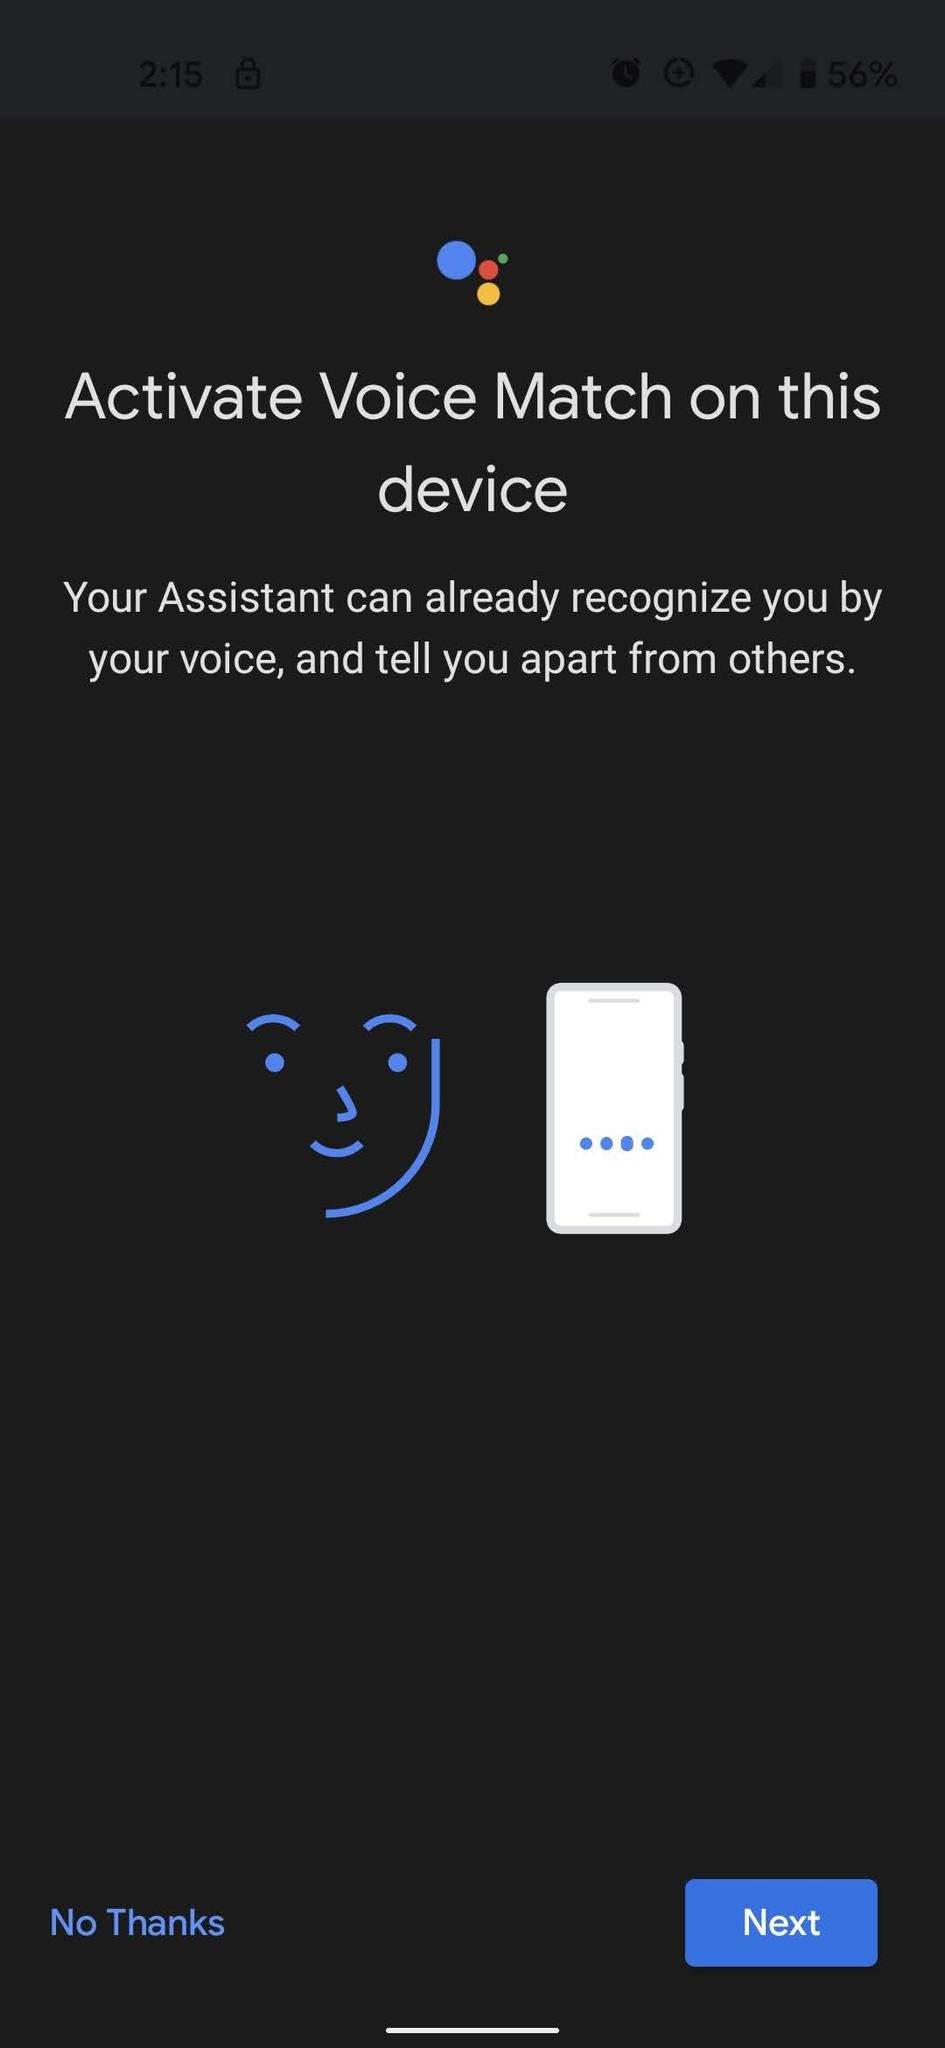
- Tap Next to enter the Google Assistant Voice Match menu.
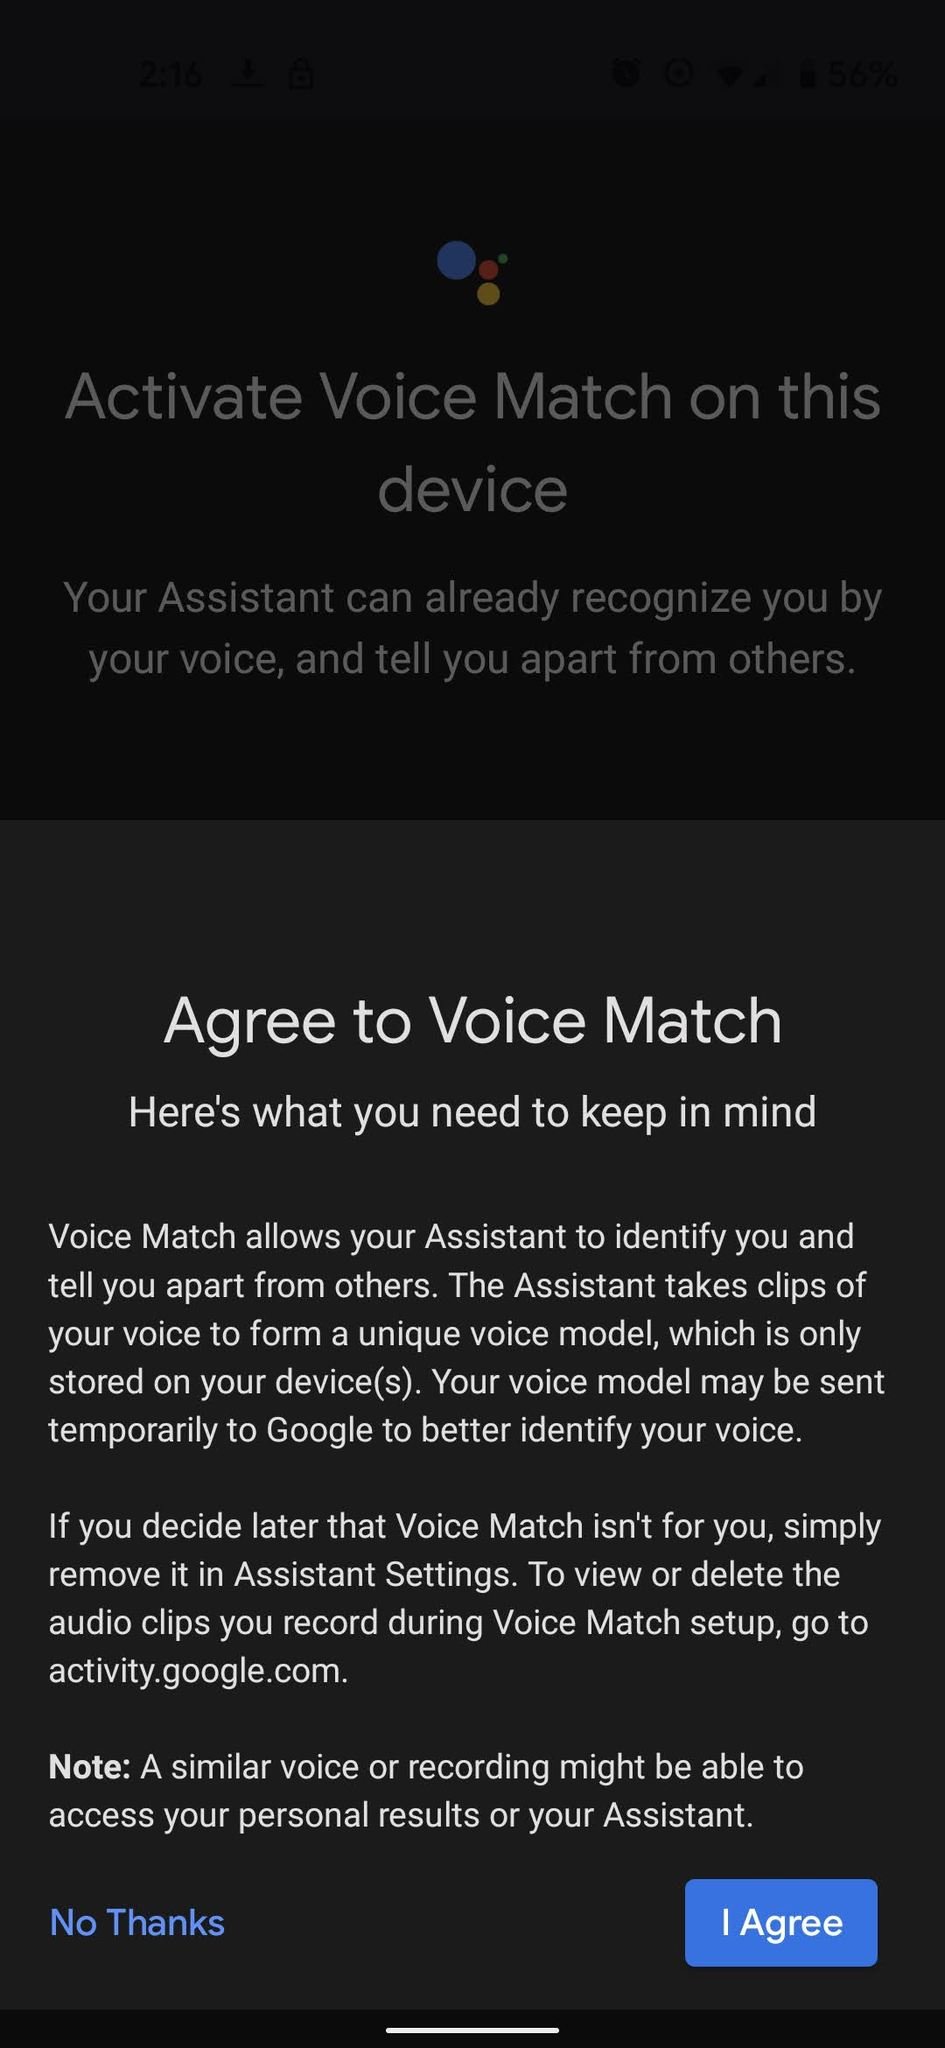
- Tap No Thanks if you don't want Voice Match and personalized responses, but if you skip Voice Match, you don't get answers to questions like "when is my next meeting" and the voice model won't be as accurate, so Google Assistant might have more trouble understanding you.
- Tap I Agree.
-
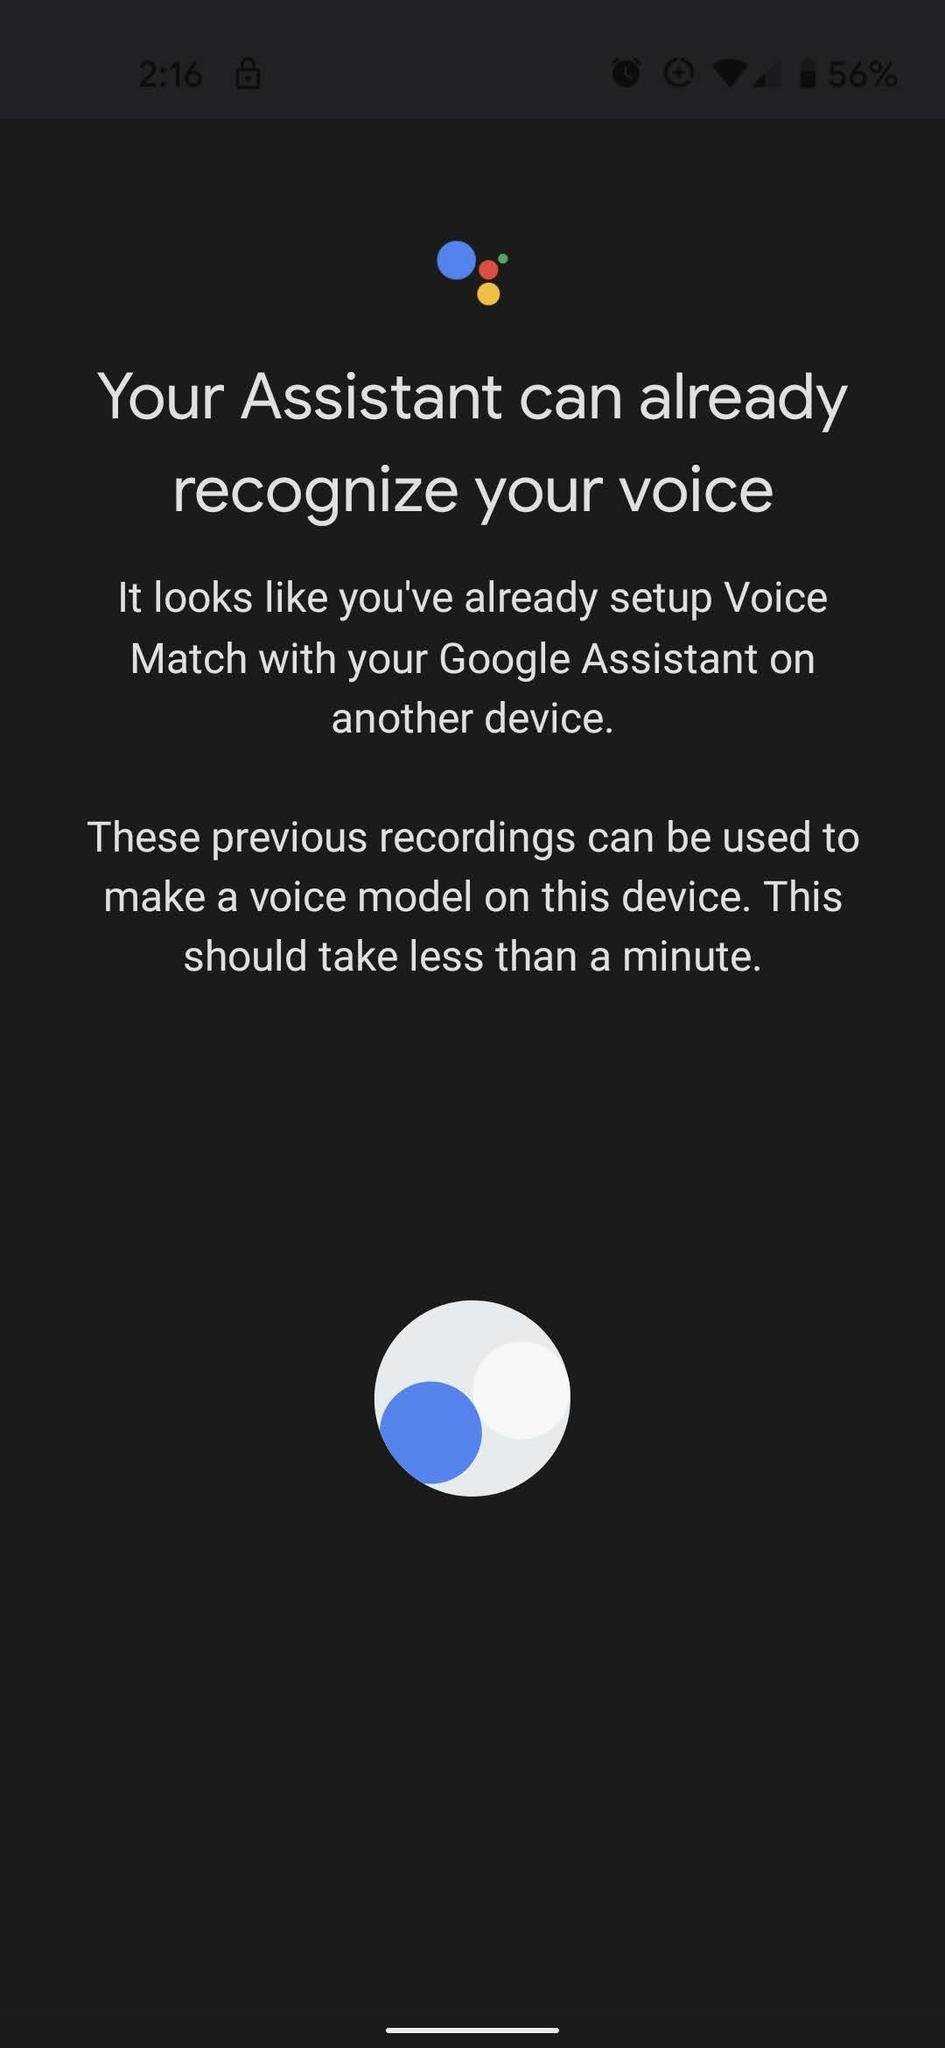
Say OK Google and Hey Google when prompted. If you already trained a voice model for Google Assistant on your phone or tablet, it will be downloaded to your new speaker.
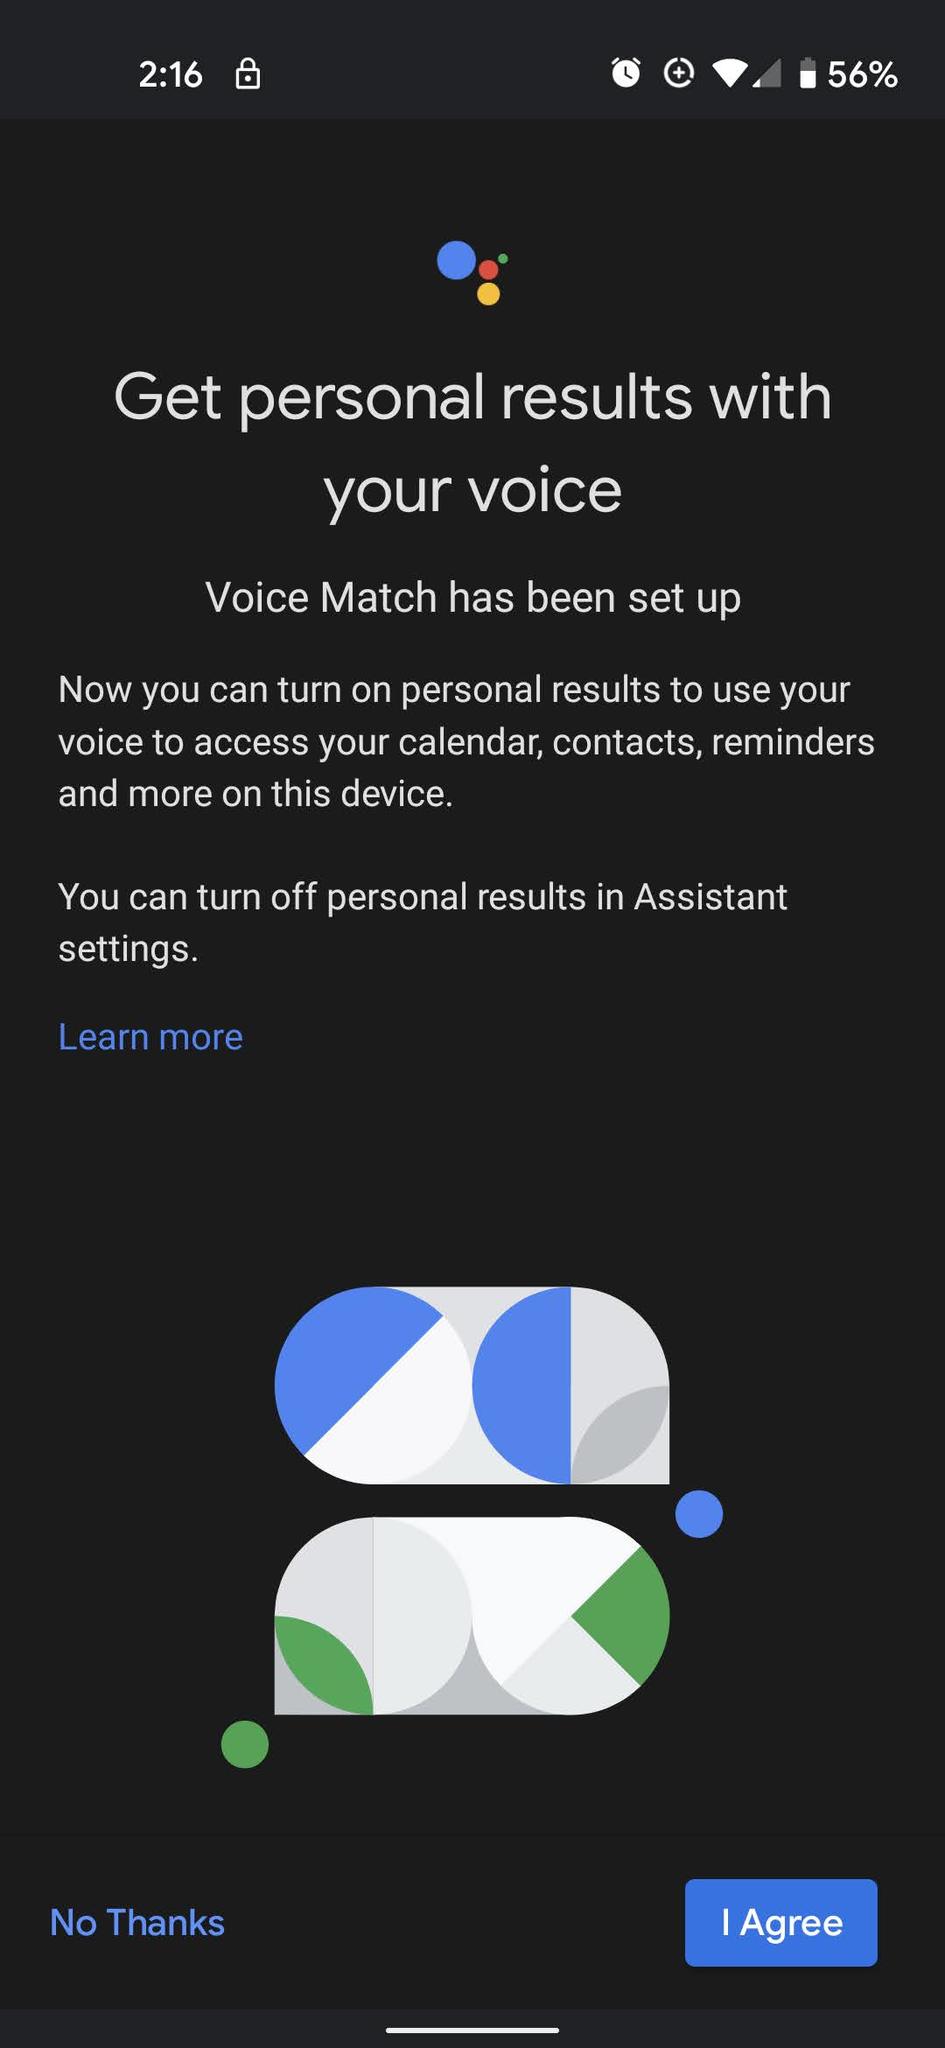
- Tap I Agree to turn on personal results, or tap No Thanks if you don't want personal results if the speaker is going to be in a main room and be used by multiple people, including your children.
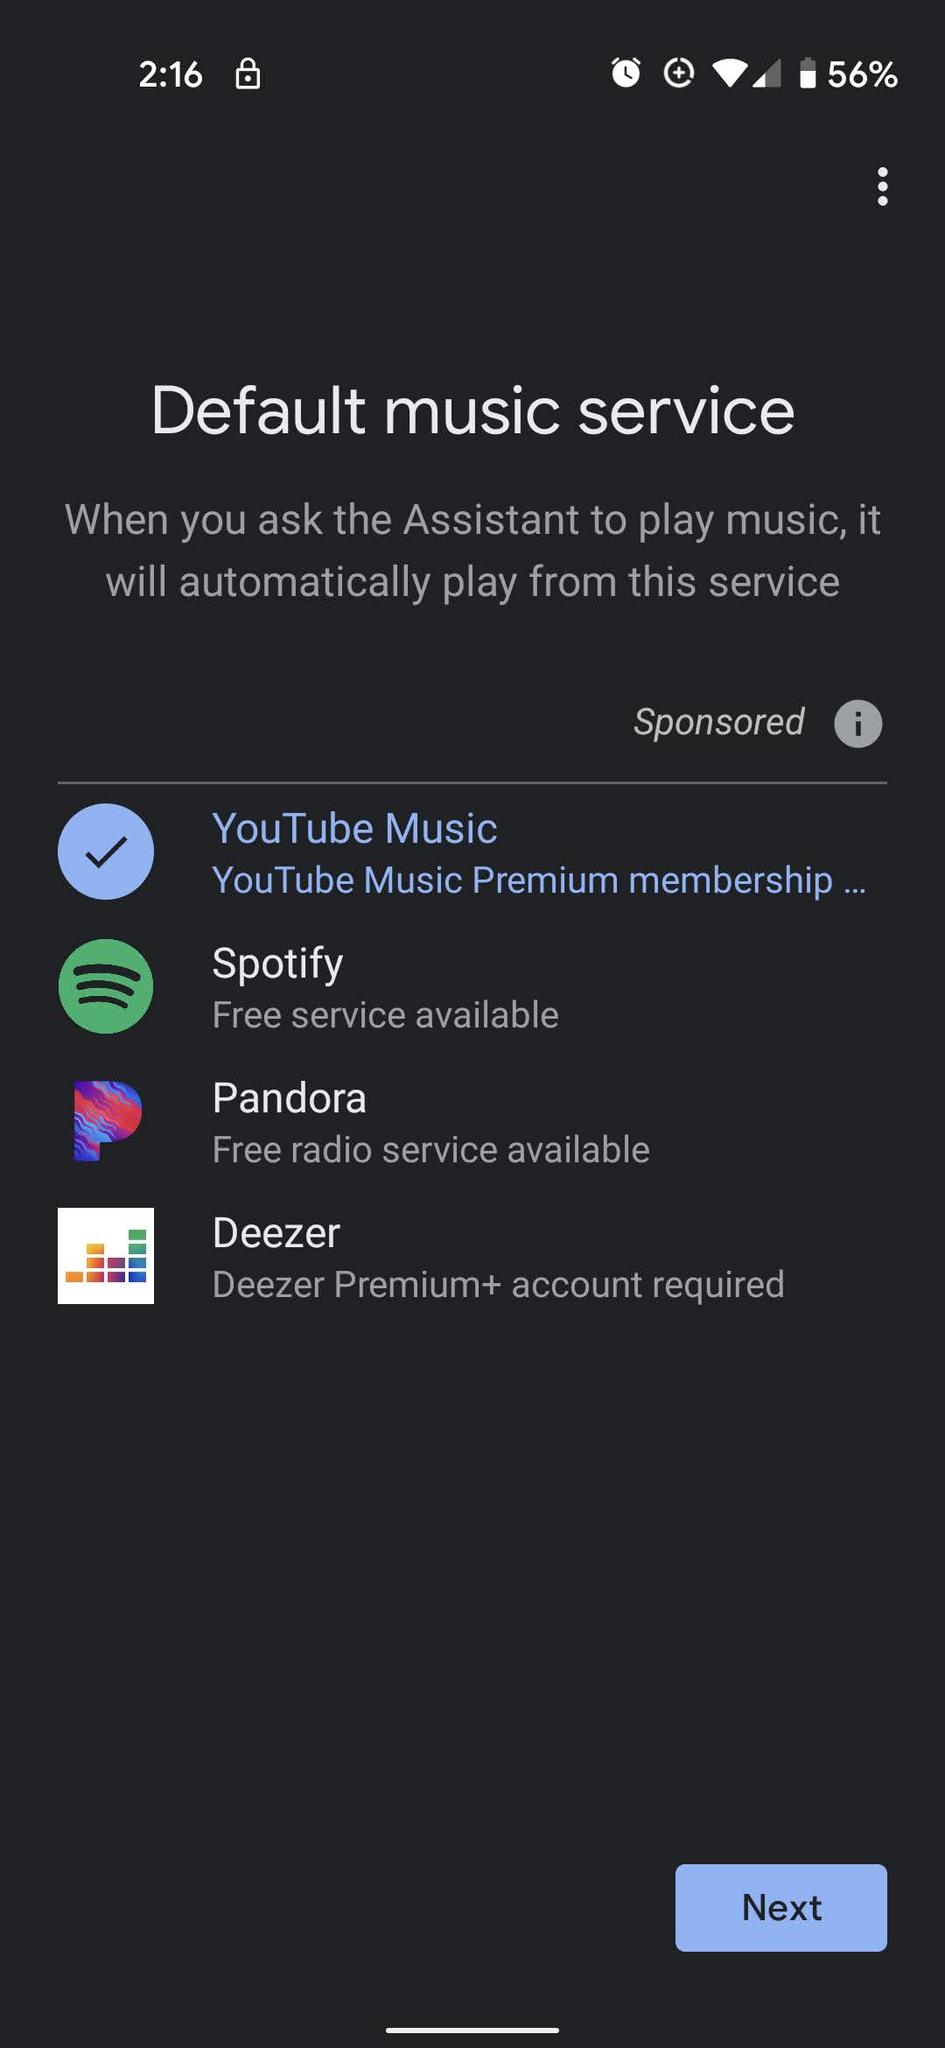
- Tap the music service you want to be used as the default with your speaker.
- Tap Next.
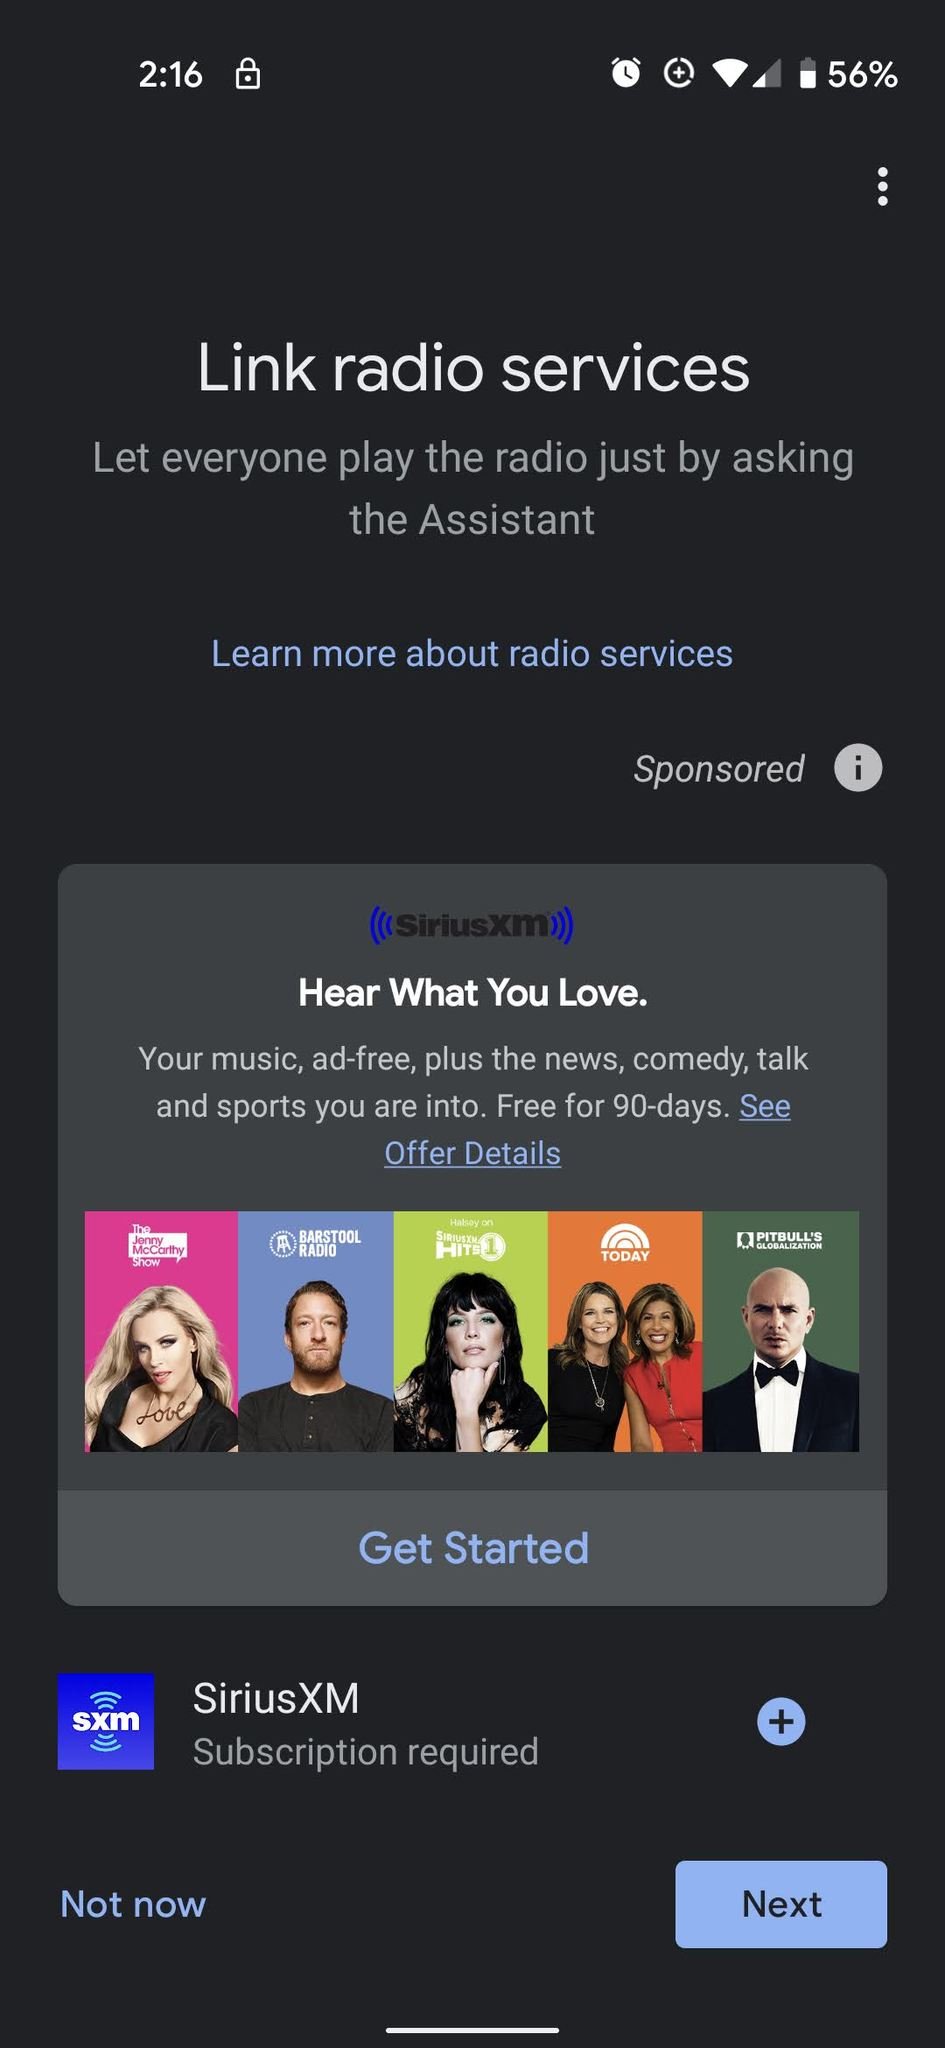
- If you have SiriusXM, tap the + to sign in to listen to it on your Google Assistant speaker.
-
Tap Next.
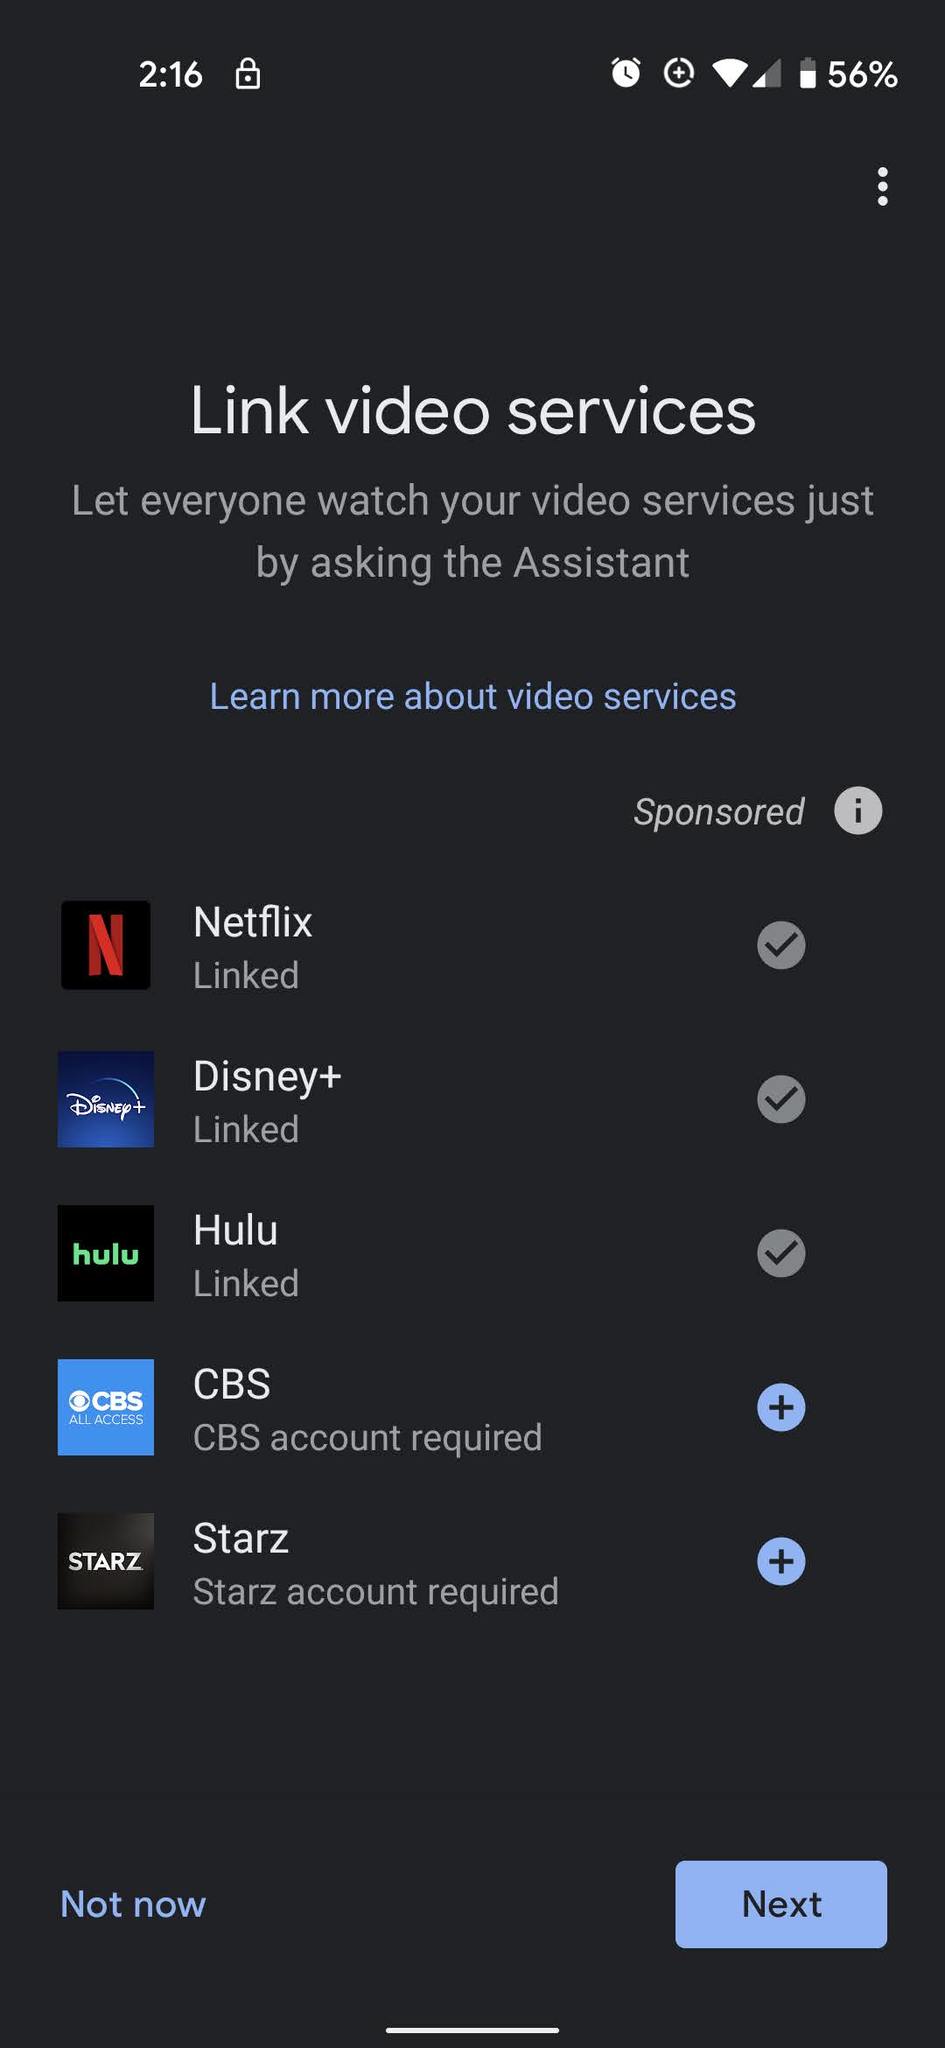
- If you have any video services you want linked to Google Assistant, tap the + to sign into them.
- Tap Next.
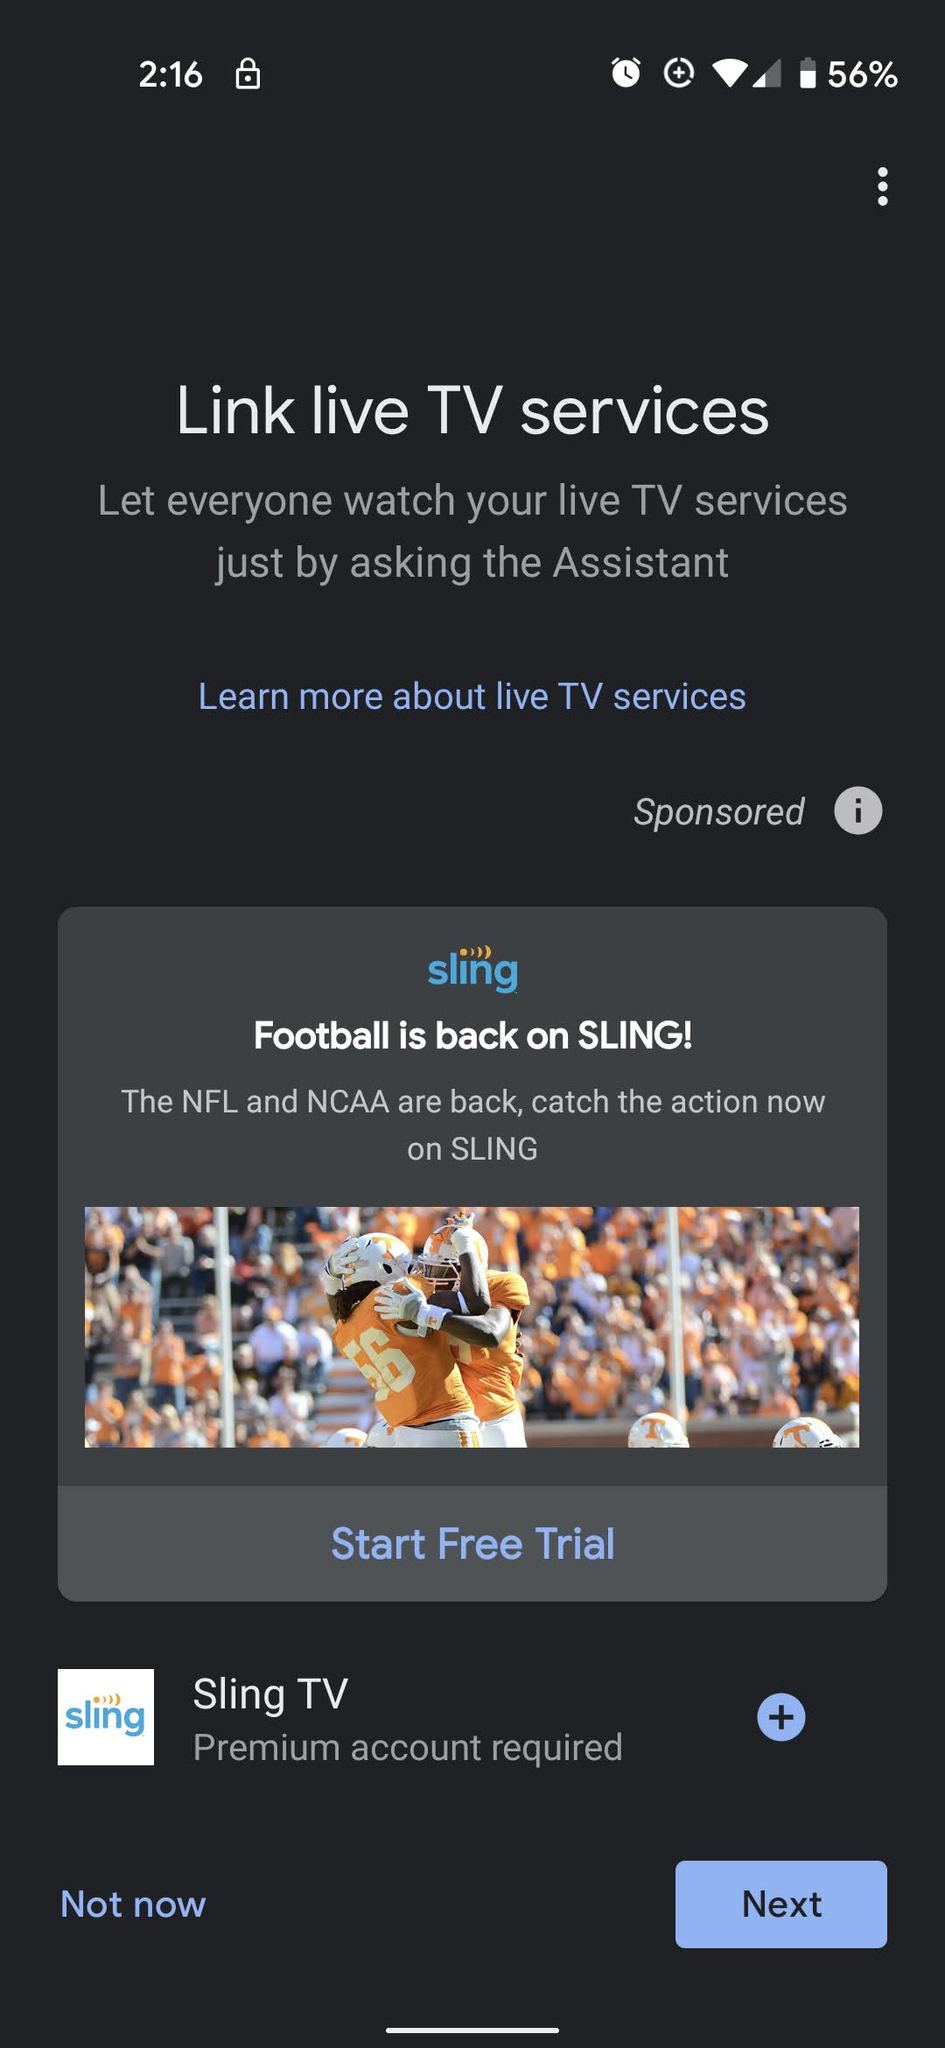
- If you have Sling TV, tap the + to link it to Google Assistant.
- Tap Next.
-
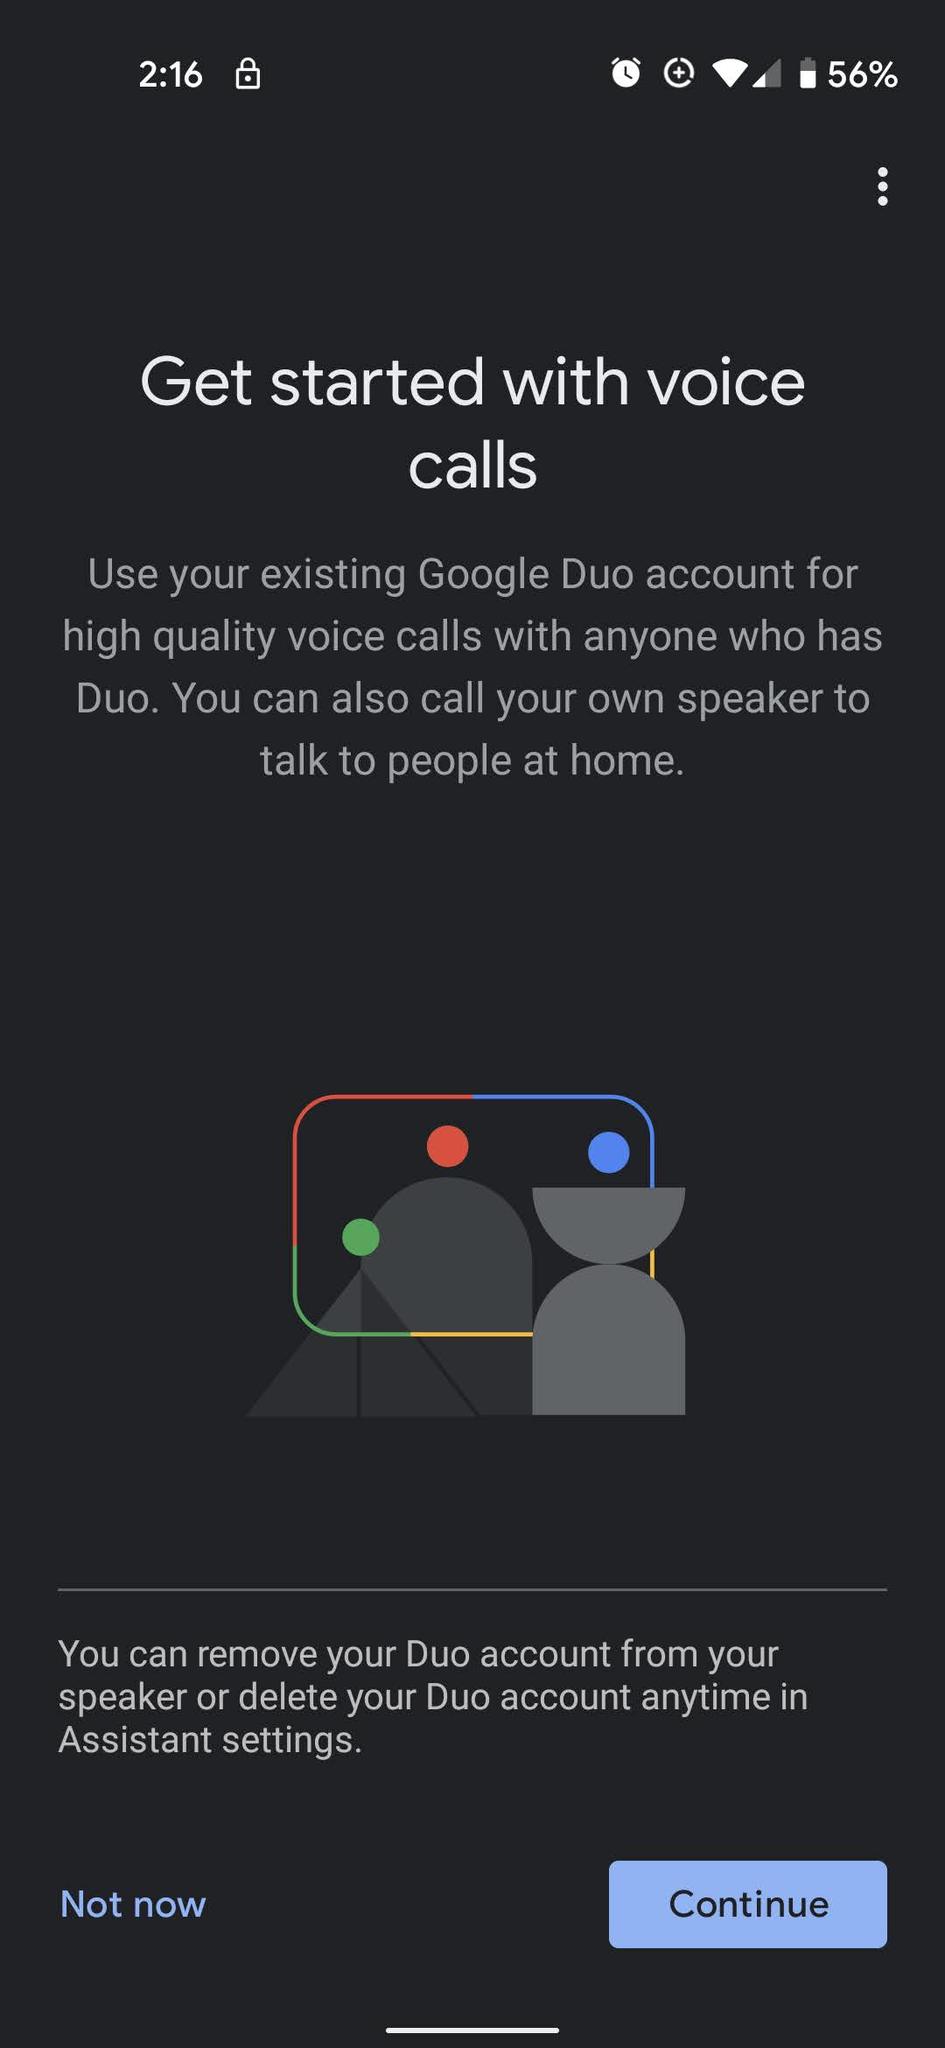
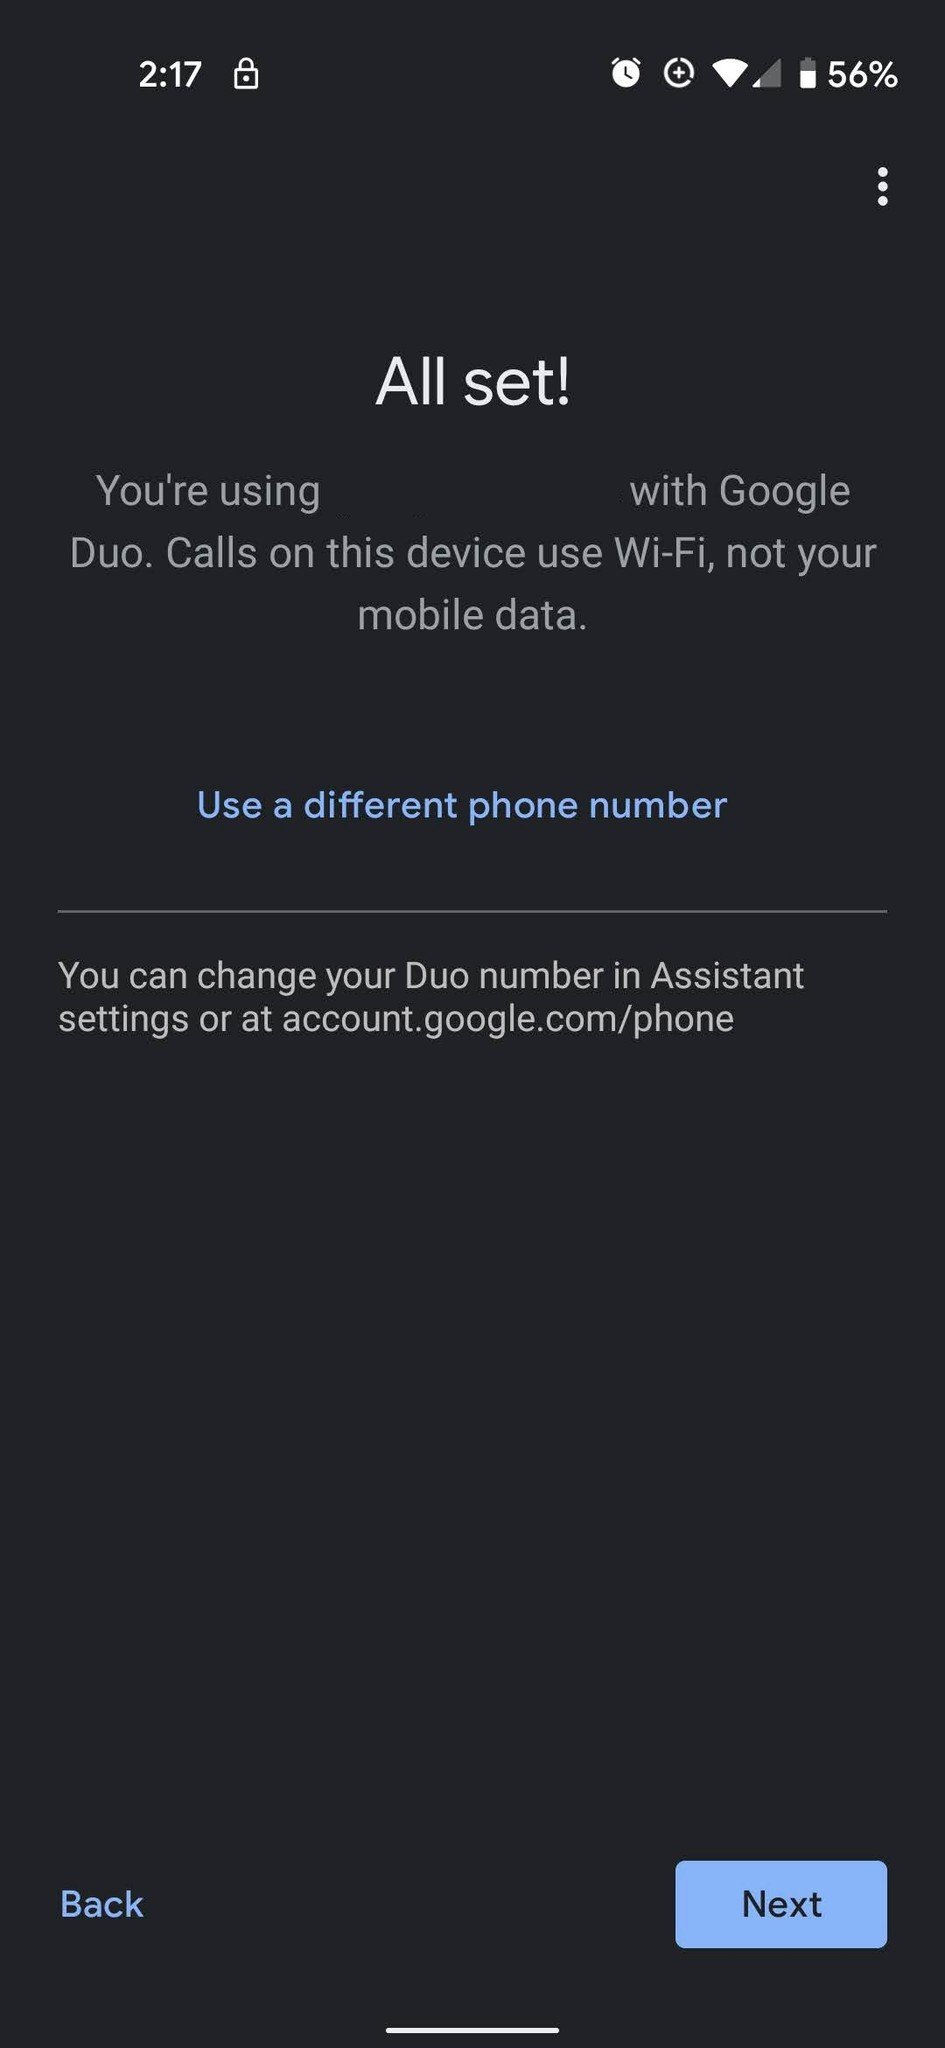
Tap Continue to link your Google Assistant speaker to Google Duo, or tap Not now if you don't want your speaker to make calls.
- Tap Next.
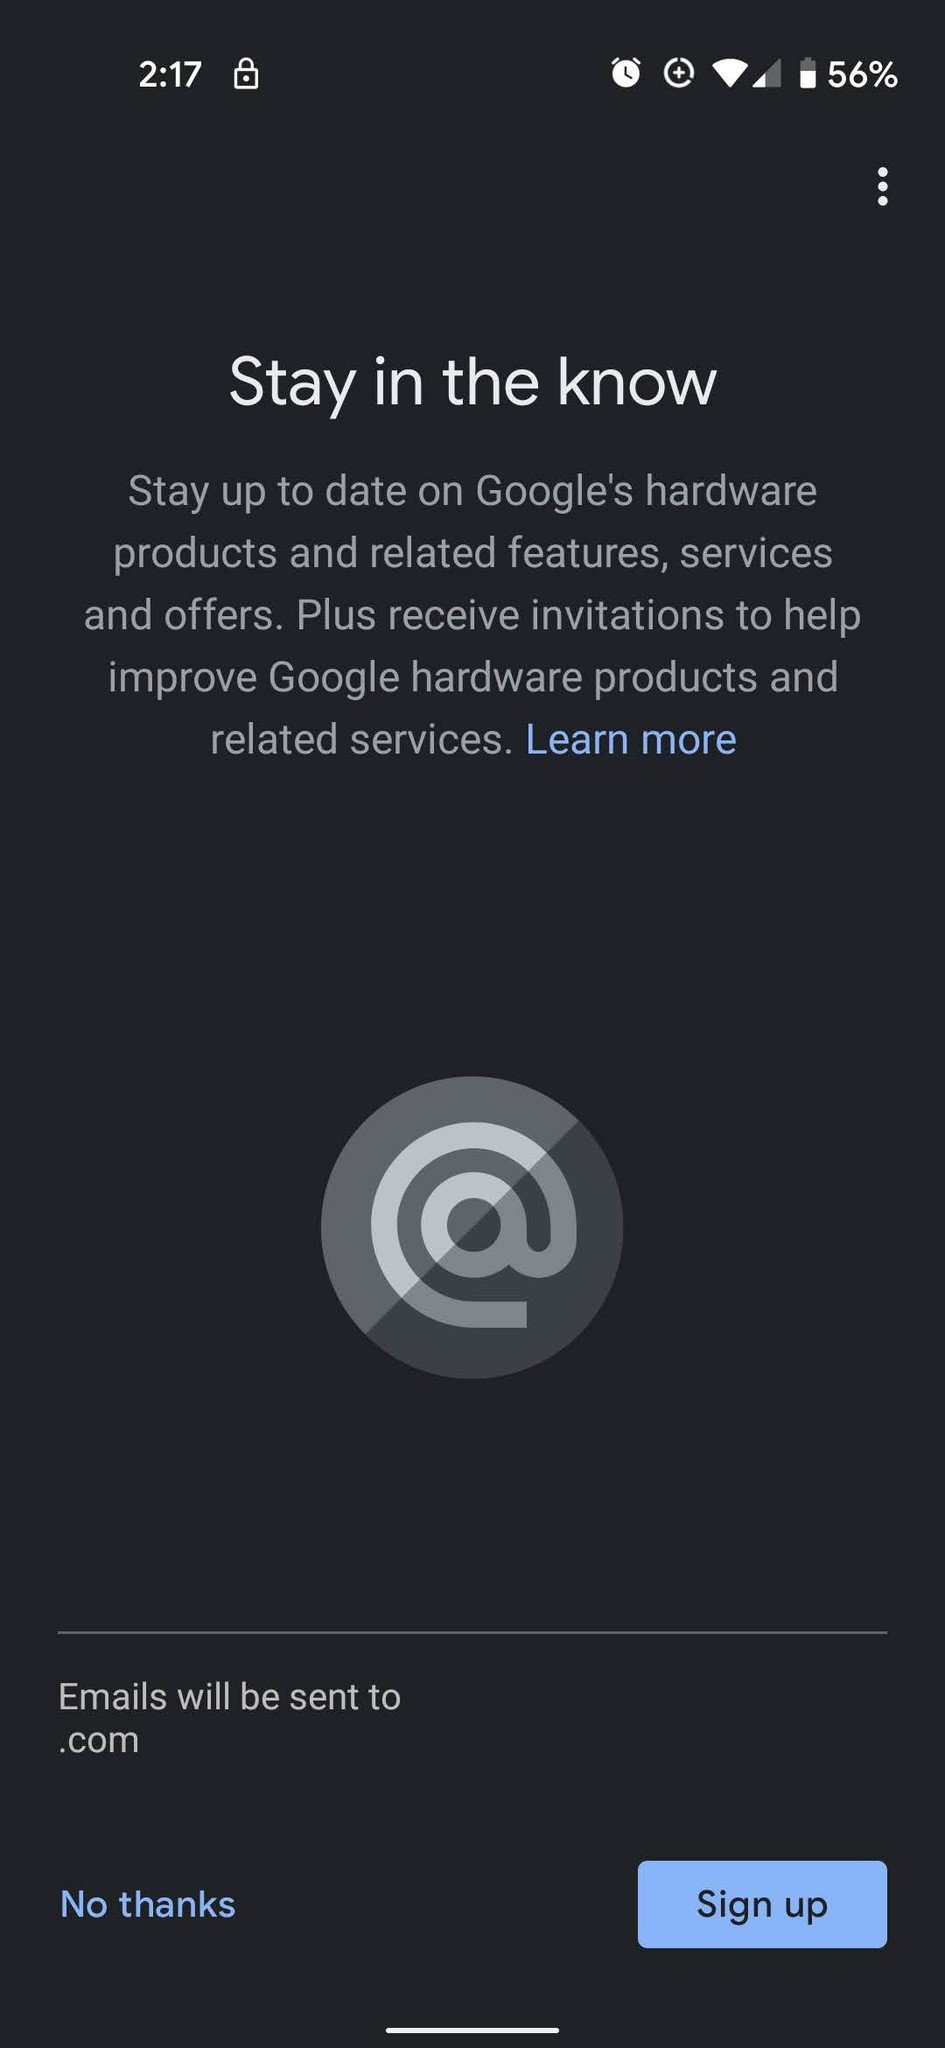
- Tap Sign up if you want promotional emails from Google, or No thanks if you don't.
-
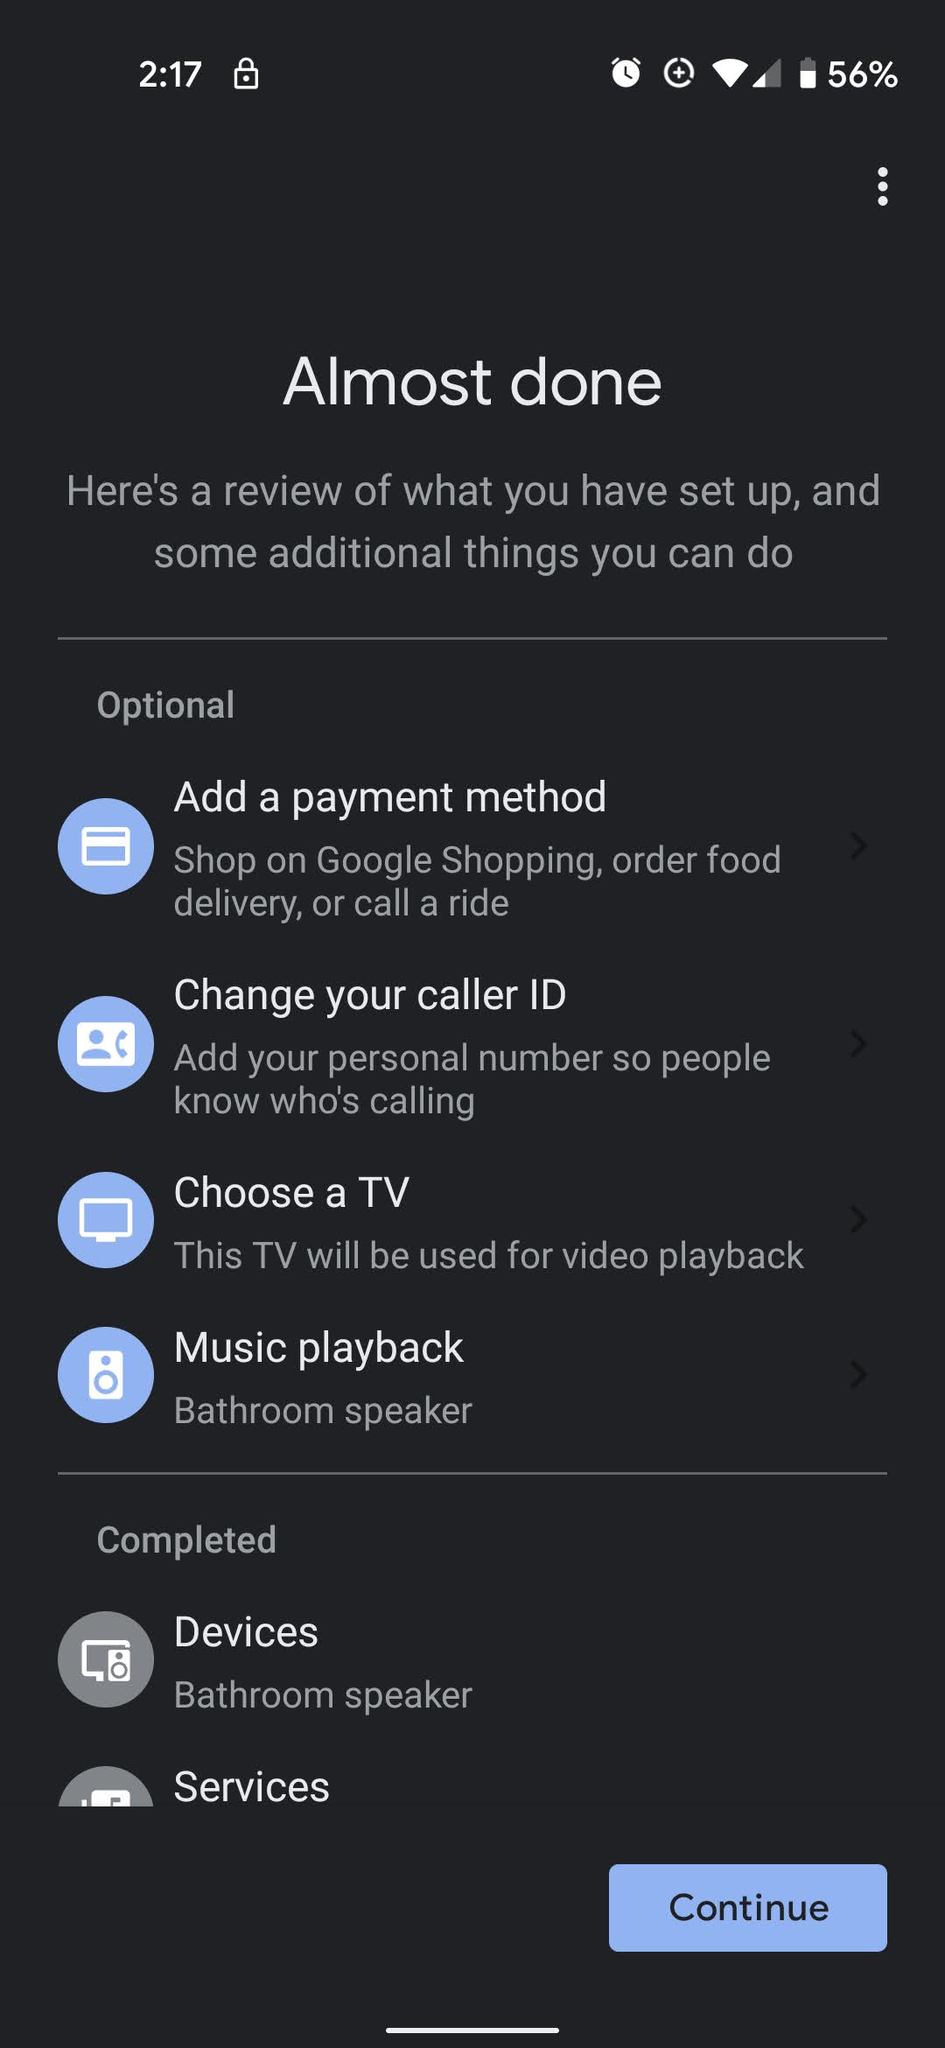
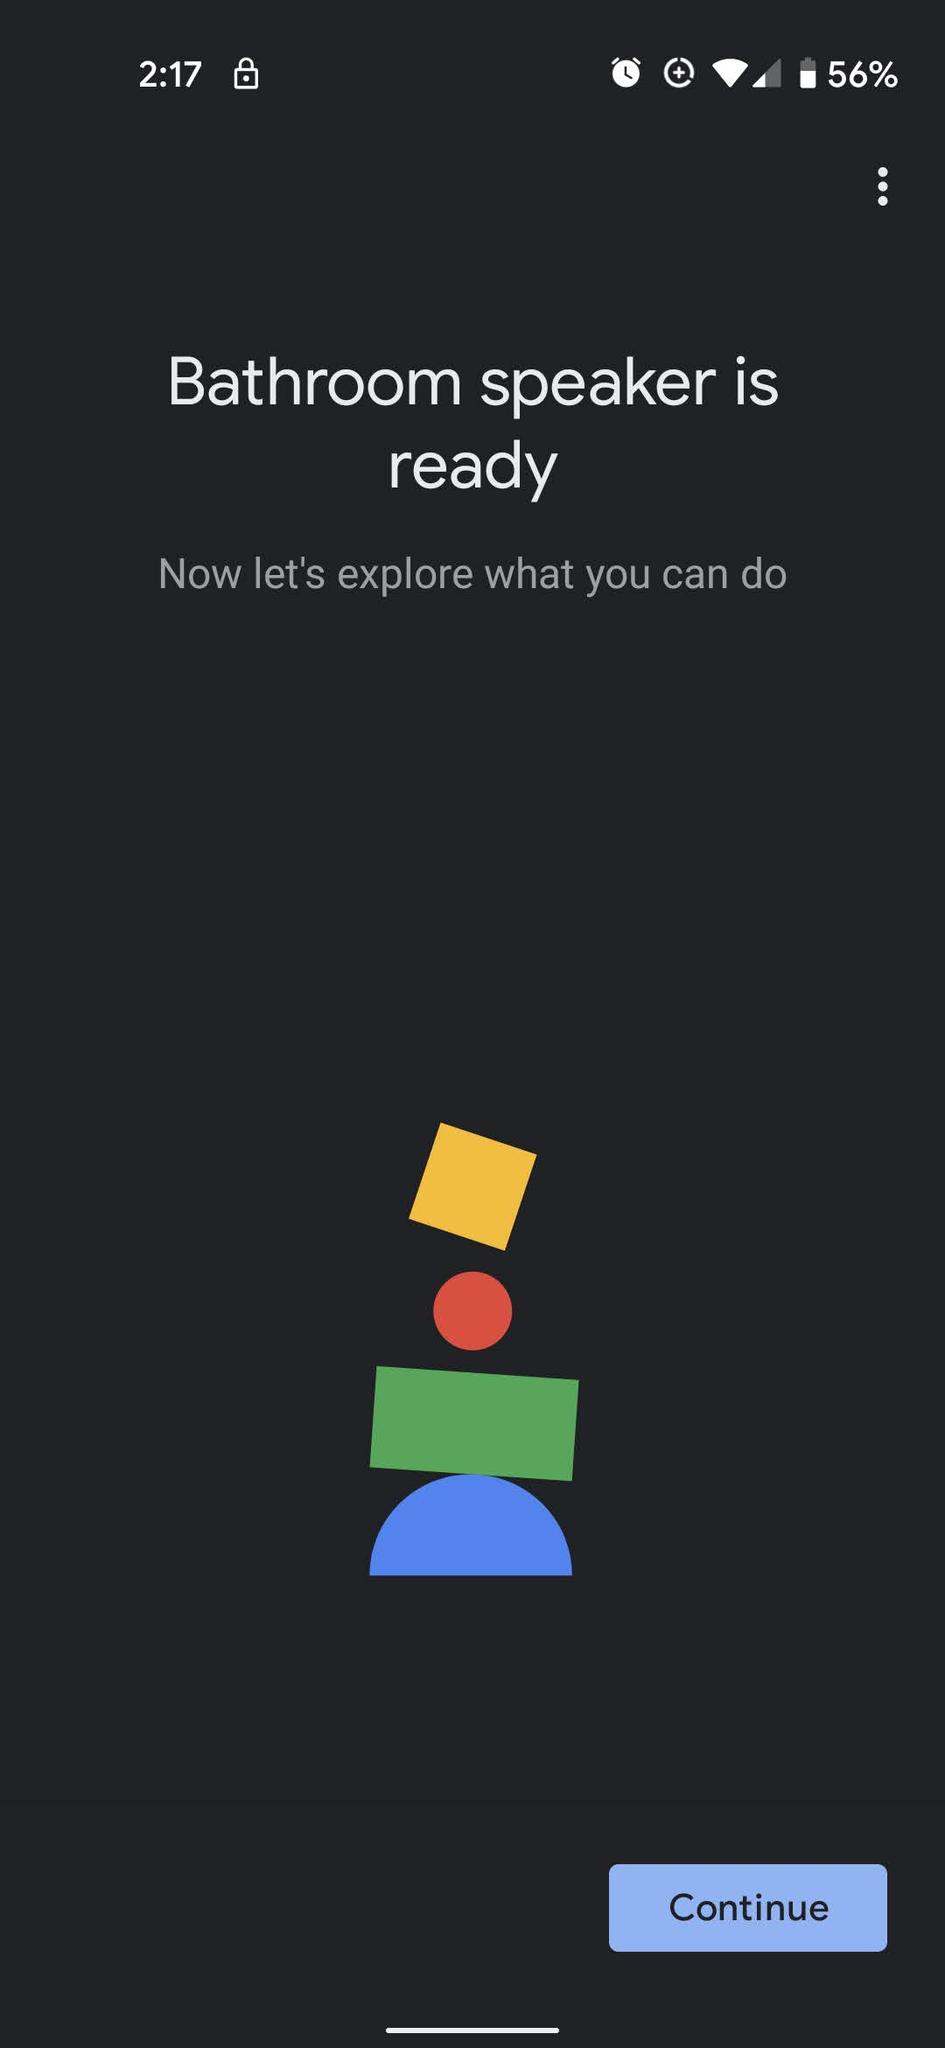
Tap Continue after reviewing your settings.
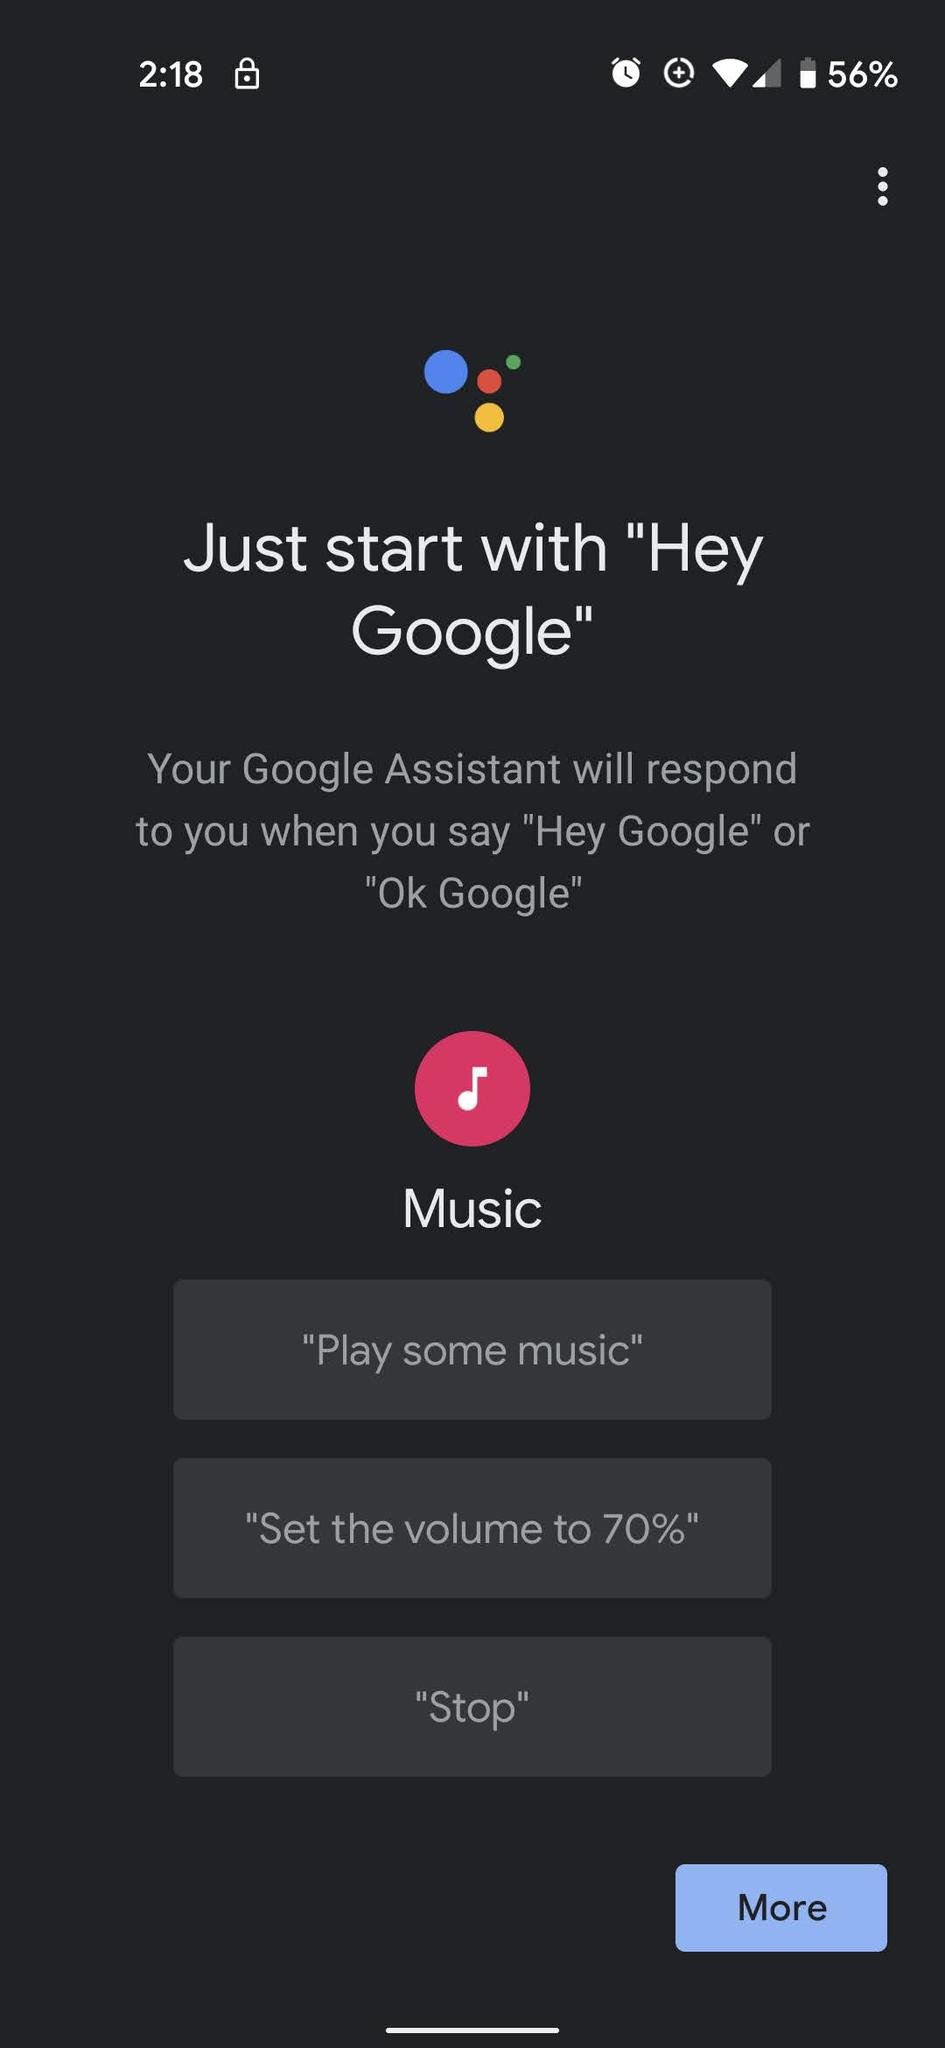
- Tap Continue to complete setup.
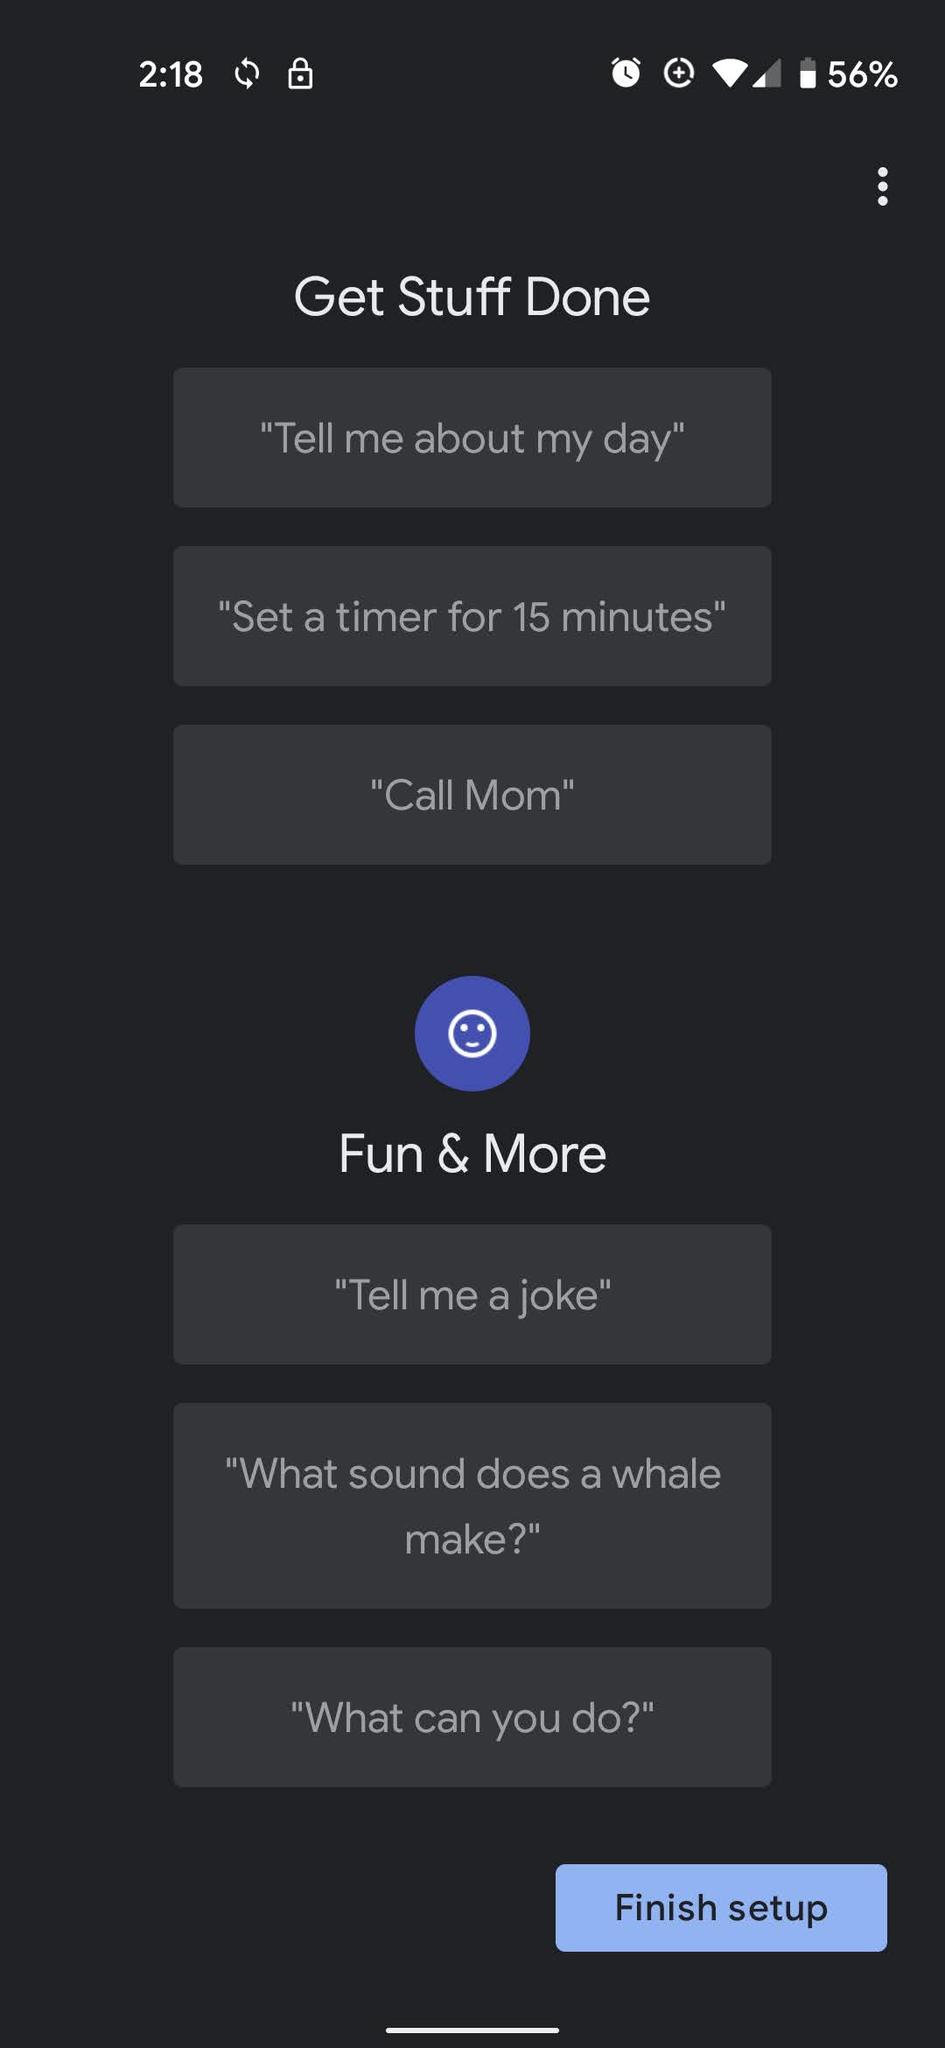
- Tap More or scroll down.
-
Tap Finish setup.
Now, it's time to actually use your new smart speaker — but on what? Will you cast your music or let Google take you on an audio adventure? Will you control some sweet smart lights, or turn on the heater without leaving the warmth of your bed? Will you use it to whip up something yummy in the kitchen, or use it just to order takeout for the night? Create some custom Google Assistant Routines in order to make turning down for the night or getting up in the morning a breeze!
from Android Central - Android Forums, News, Reviews, Help and Android Wallpapers https://ift.tt/2HJwZDx
via IFTTT



Aucun commentaire:
Enregistrer un commentaire